Photoshop特效实例:璀璨的钻石
要点:璀璨,钻石


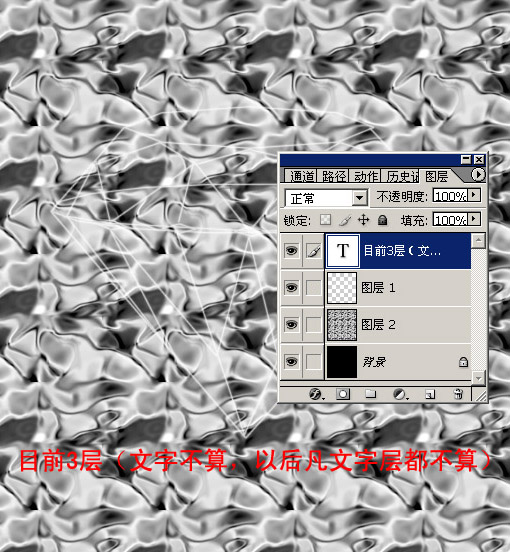
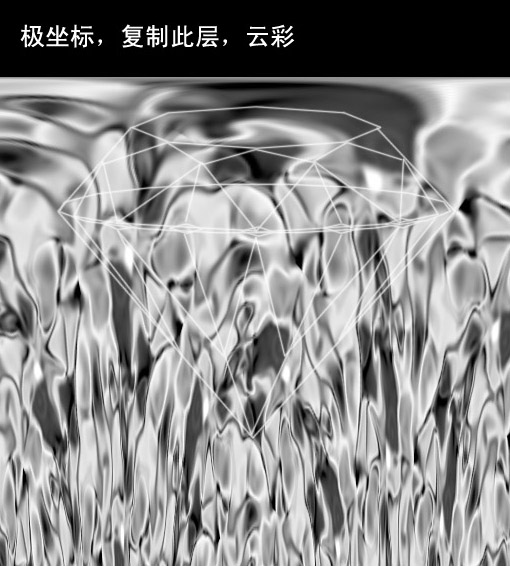
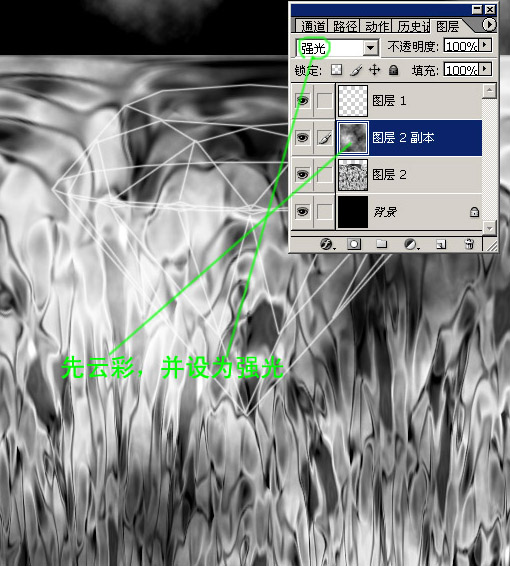
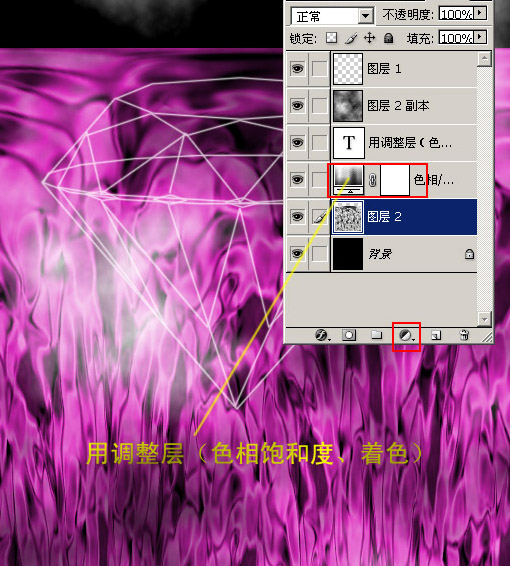
今天我们一起用 Photoshop 来做一颗璀璨的钻石,主要用到路径、极坐标、滤镜、色彩调节等。
完成效果如下:
绘制步骤如下:
推荐继续学习,上一篇ps教程:简单还原美丽:去除MM网纹效果 下一篇ps教程:人像摄影作品后期PS处理简明教程
学习更多ps教程