领略Photoshop CS2风采:沙发材质超级变换
要点:CS2风采,沙发材质超级变换

前段时间我们看过squzz换沙发材质,我们这会利用CS2中新的功能来完成这个效果!
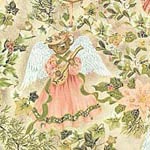
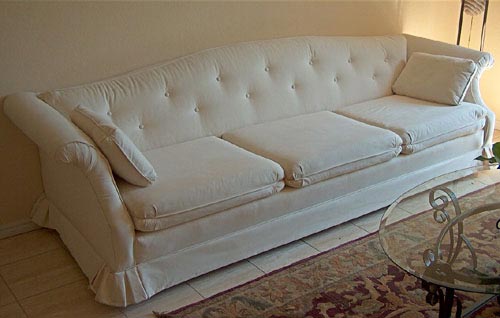
这里我们讲到的两个原文件。
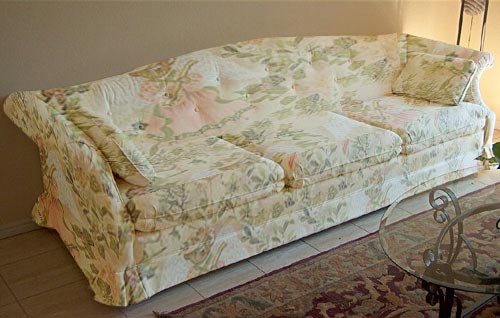
这是两种完成的效果!
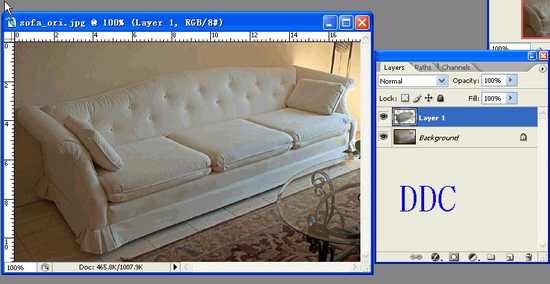
1、我们首先打开源文件(就是要修改的文件),用路径工具把沙发扣出来,这里有现成的,我们按ctrl+回车,生成选区就行了,然后按ctrl+j生成一个新的图层!
如图所示:
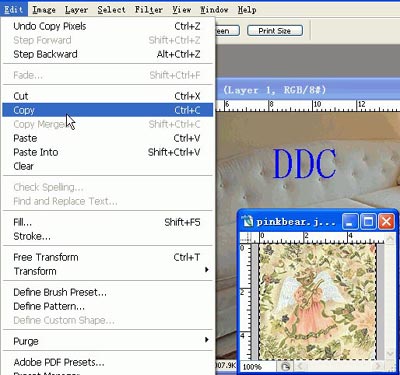
2、打开另一个文件(材质文件),ctrl+A命令全选,选择EDit菜单-copy拷贝(Ctrl+C)命令,以备后面使用。如图所示:
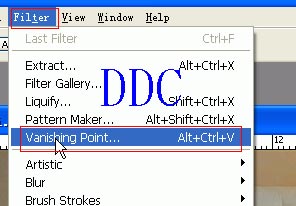
3、我们执行滤镜(filter)-vanishing point消失点命令!如图:
推荐继续学习,上一篇ps教程:体验PS CS2增强的图像处理能力 下一篇ps教程:Photoshop CS2 改变之图层操作
学习更多ps教程