PS技巧 制作霓虹图象
要点:PS技巧,制作霓虹图象


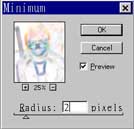
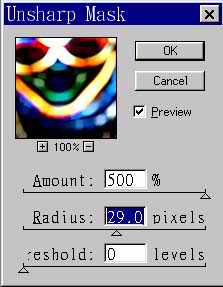
图1 效果图和原图
1.打开将处理的档案,并将其设定为RGB模式。
2.使用(Filter)-(Blur)-(Gaussian Blur),将Radius设为3。
3.使用(Filter)-(Stylize)-(Find Edge)。
4.使用(Filter)-(Other)-(Minimum),将Radius设为2。
图2 调整滤镜
5.使用Ctrl+I来将影像便成负片。
6.使用(Filter)-(Sharpen)-(Unsharpen Mask),将Amount设到最大,Radius为适中。
图3 锐化滤镜
7.使用(Image)-(Adjust)-(Levels)调整色度至画面较干净为止。
8.复制Background Layer。
9.在Background Copy Layer选取下,使用(Filter)-(Blur)-(Gaussian Blur),将Radius设为13。
10.在Layer控制板中将Background Copy Layer的覆盖模式设为Screen即可。
推荐继续学习,上一篇ps教程:PS技巧教你制作美丽的波兰 下一篇ps教程:PHOTOSHOP常见疑问解答(2)
学习更多ps教程