Photoshop:画淡彩水墨画
要点:Photoshop,画淡彩水墨画
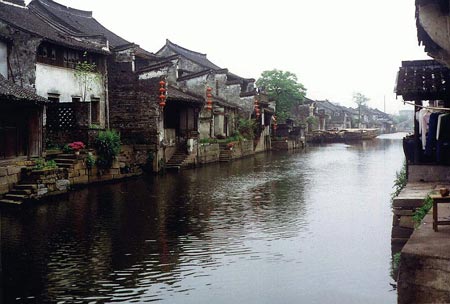
1.先打开要处理的图片(图1),将背景层复制三个为(背景 副本、背景 副本2、背景 副本3)依次置于上层。
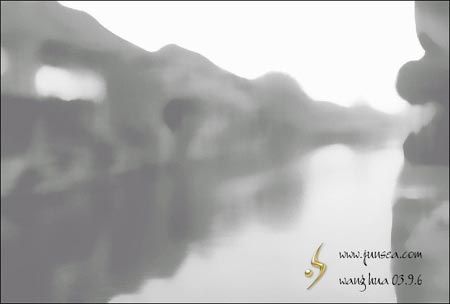
2.点背景层跟背景 副本2和副本3图层前面的眼睛,先将这三个视图关闭,回到背景 副本图层,到菜单-图象-调整-去色,再按CTRL+U将明度调节至+45,再到菜单-滤镜-杂色-中间值,半径为20(图2)。
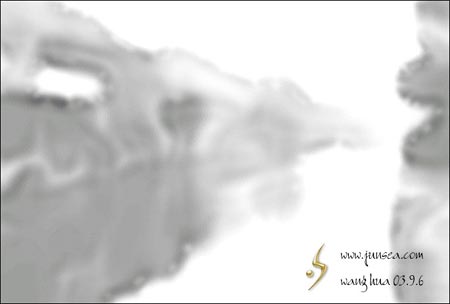
3.到菜单-滤镜-模糊-高斯模糊,模糊半径为15,再到菜单-滤镜-艺术效果-水彩,画笔细节设置为5、暗调强度为0,纹理设置为3。再回到菜单-滤镜-模糊-高斯模糊,模糊半径设置为5,按CTRL+M,将其颜色调亮(图3)。
推荐继续学习,上一篇ps教程:Photoshop:制作“反转负冲”效果 下一篇ps教程:Photoshop:快速绘制一款MP3概念机
学习更多ps教程