用Photoshop给照片制作艺术边缘
要点:
先看一下效果:

制作工具:Photoshop CS
制作过程:
1、新建宽度为351像素,高度为576像素,分辨率为300像素,颜色模式为RGB,背景为白色的文件。
2、按“D”键,将前景色和背景色设置为默认的黑色和白色,选择菜单栏中的“滤镜”“渲染”“云彩”命令,画面效果如图01所示。
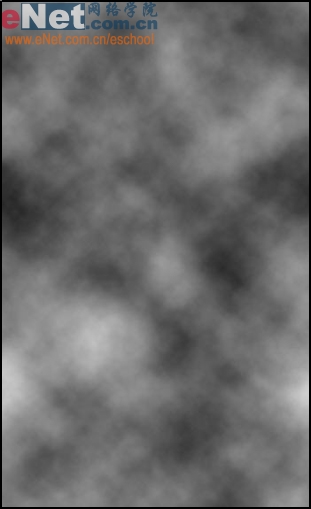
图01
3、选择菜单栏中的“滤镜”“渲染”“分层云彩”命令,按“Ctrl+F”反复使用这个滤镜3次,画面效果如图02所示。
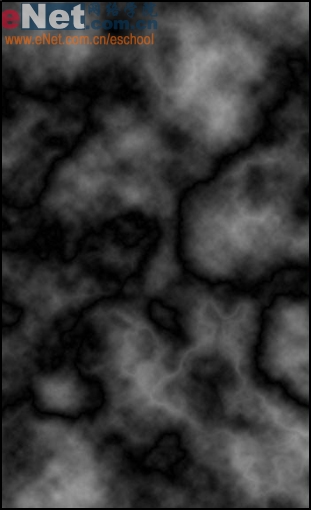
图02
4、选择菜单栏中的“图像”“调整”“反相”命令,效果如图03所示。
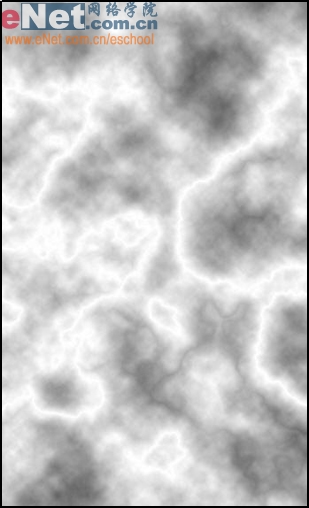
图03
5、选择菜单栏中的“图像”“艺术效果”“调色刀”命令,得到“调色刀”对话框如图04,将描边大小设置为20,描边细节设置为3,软化度为0,单击好确定,效果如图05所示。
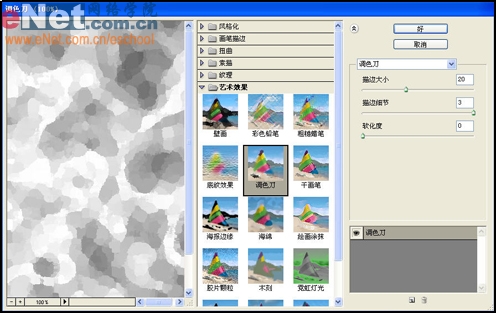
图04
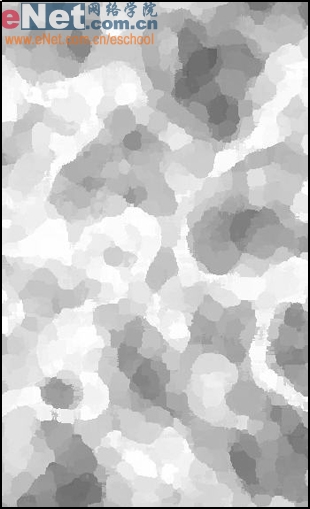
图05
6、选择菜单栏中的“滤镜”“艺术效果”“海报边缘”命令,得到“海报边缘”对话框如图06,将边缘厚度设置为1,边缘强度设置为1,海报比为2,单击好确定,效果如图07所示。
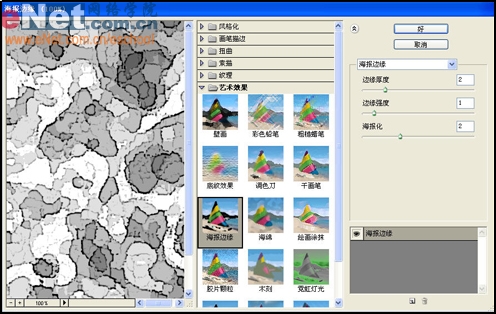
图06
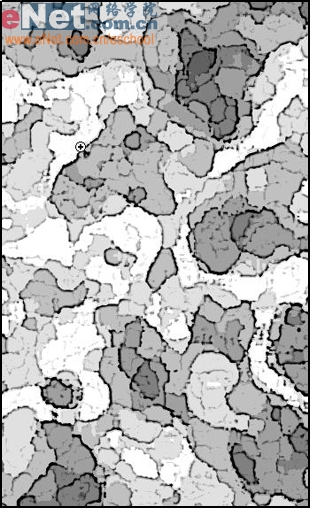
图07
7、选择菜单栏中的“滤镜”“扭曲”“玻璃”命令,得到“玻璃”对话框如图08,将扭曲度设置为5,平滑度设置为3,效果如图09所示。
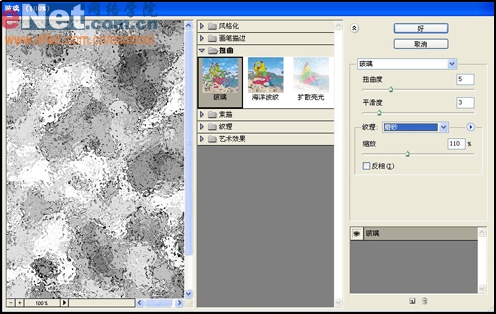
图08
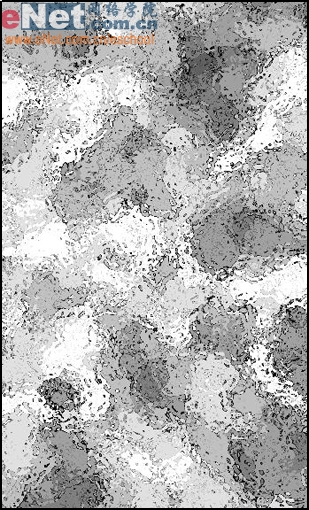
图09
8、选择“文件”“存储”命令,将图像存储为PSD格式。
9、打开一张照片,如图10所示。
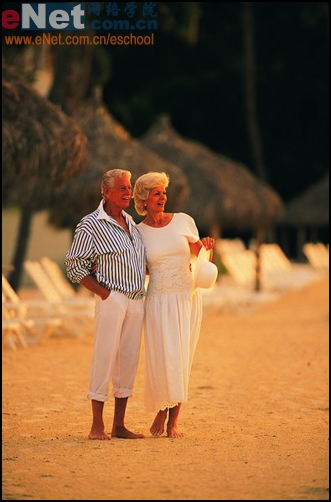
图10
10、在工具箱中选择“矩形形选框工具”,在图像中的四周随便画出几块矩形的选区如图11所示。

图11
11、将前景色设置为白色,为选区填充白色,效果如图12所示。
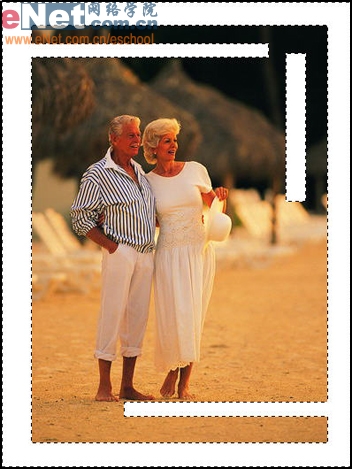
图12
12、选择菜单栏中的“滤镜”“扭曲”“置换”命令,如图13所示,得到“置换”对话框,选择刚才存储的文件,单击打开,最终效果如图14所示。
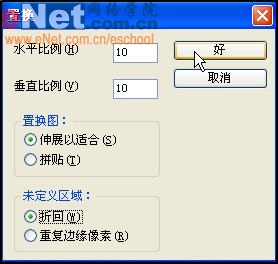
图13
图14
先看一下效果:
制作工具:Photoshop CS
制作过程:
1、新建宽度为351像素,高度为576像素,分辨率为300像素,颜色模式为RGB,背景为白色的文件。
2、按“D”键,将前景色和背景色设置为默认的黑色和白色,选择菜单栏中的“滤镜”“渲染”“云彩”命令,画面效果如图01所示。
图01
3、选择菜单栏中的“滤镜”“渲染”“分层云彩”命令,按“Ctrl+F”反复使用这个滤镜3次,画面效果如图02所示。
图02
4、选择菜单栏中的“图像”“调整”“反相”命令,效果如图03所示。
图03
5、选择菜单栏中的“图像”“艺术效果”“调色刀”命令,得到“调色刀”对话框如图04,将描边大小设置为20,描边细节设置为3,软化度为0,单击好确定,效果如图05所示。
图04
图05
6、选择菜单栏中的“滤镜”“艺术效果”“海报边缘”命令,得到“海报边缘”对话框如图06,将边缘厚度设置为1,边缘强度设置为1,海报比为2,单击好确定,效果如图07所示。
图06
图07
7、选择菜单栏中的“滤镜”“扭曲”“玻璃”命令,得到“玻璃”对话框如图08,将扭曲度设置为5,平滑度设置为3,效果如图09所示。
图08
图09
8、选择“文件”“存储”命令,将图像存储为PSD格式。
9、打开一张照片,如图10所示。
图10
10、在工具箱中选择“矩形形选框工具”,在图像中的四周随便画出几块矩形的选区如图11所示。
图11
11、将前景色设置为白色,为选区填充白色,效果如图12所示。
图12
12、选择菜单栏中的“滤镜”“扭曲”“置换”命令,如图13所示,得到“置换”对话框,选择刚才存储的文件,单击打开,最终效果如图14所示。
图13
图14
推荐继续学习,上一篇ps教程:Photoshop快速鼠绘大眼美女关芝琳 下一篇ps教程:学习绘图者必看--素描基础知识
学习更多ps教程