Photoshop打造夜幕下的霓虹灯招牌
要点:霓虹灯招牌
先看一下效果:

制作工具:Photoshop CS
制作过程:
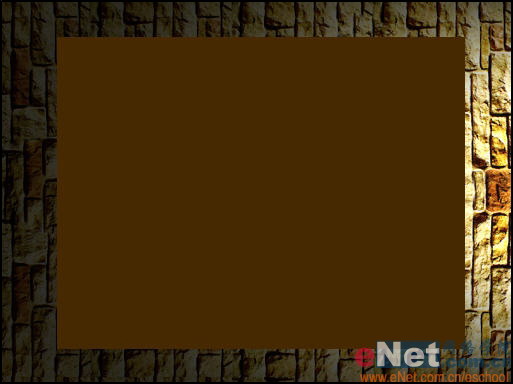
1、打开一幅背景图片,在背景图片上绘制矩形选区并填充颜色,如图01所示。
2、选择工具箱中的“文字工具”,在属性栏中设置适当的字体和字号,输入文字,如图02所示,按Ctrl+T键添加自由变形框,将文字旋转,如图03所示。


3、选择菜单栏中的“图层”“文字”“创建工作路径”命令,并将文字隐藏,画面效果如图04所示。

4、切换至路径面板,双击当前的“工作路径”,在弹出的对话框中直接单击确定,将其保存为“路径1”。
5、选择工具箱中的“钢笔工具”,绘制如图05所示的路径,并将路径存储为路径2。

6、按Ctrl+Enter键将路径转换为选区,新建图层“图层1”,设置前景色为暗红色,填充选区,效果如图06所示。

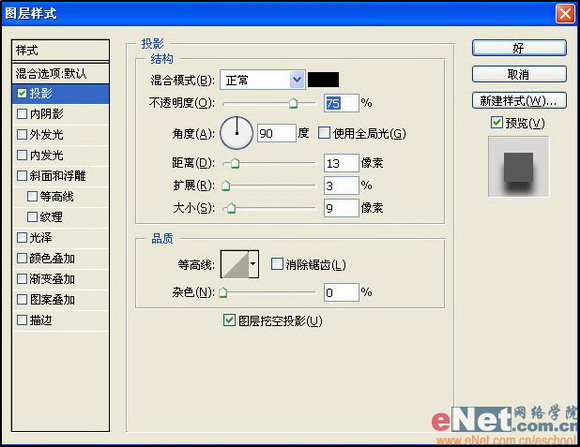
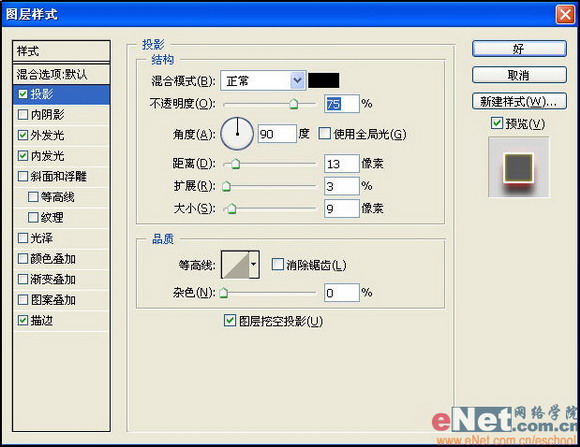
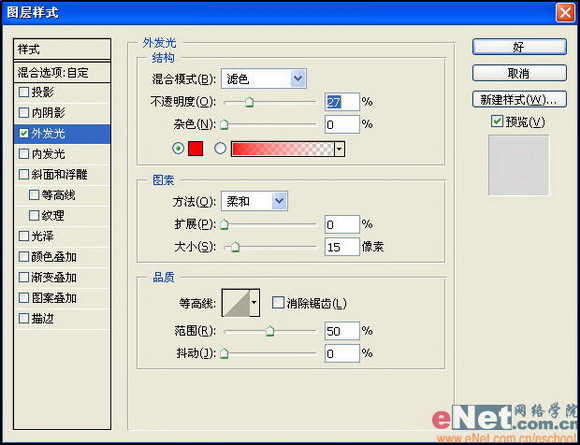
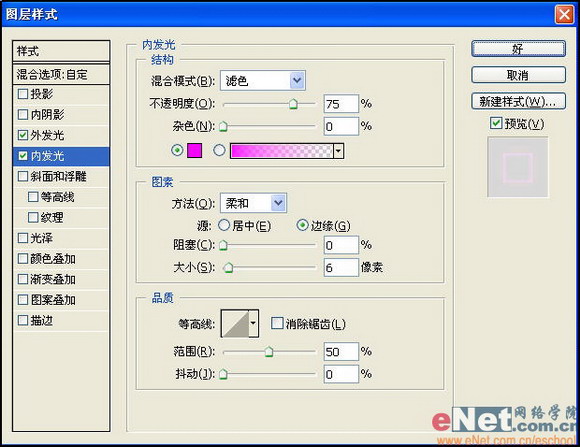
7、单击“添加图层样式”按钮,在弹出的下拉列表中选择“投影”命令,设置弹出的对话框如图07所示,再选择“外发光”和“内发光”、“描边”选项,设置其对话框如图08、09、10所示,得到的效果如图11所示。


8、复制图层1为“图层1副本”,设置“填充”为0%,同时将“投影”和“描边”图层样式清除,再更改“外发光”和“内发光”对话框中的参数,如图12和13所示,得到效果如图14所示。

9、用上面的方法制作绿色的霓虹灯边框,最终效果如图15所示。
先看一下效果:
制作工具:Photoshop CS
制作过程:
1、打开一幅背景图片,在背景图片上绘制矩形选区并填充颜色,如图01所示。
2、选择工具箱中的“文字工具”,在属性栏中设置适当的字体和字号,输入文字,如图02所示,按Ctrl+T键添加自由变形框,将文字旋转,如图03所示。
3、选择菜单栏中的“图层”“文字”“创建工作路径”命令,并将文字隐藏,画面效果如图04所示。
4、切换至路径面板,双击当前的“工作路径”,在弹出的对话框中直接单击确定,将其保存为“路径1”。
5、选择工具箱中的“钢笔工具”,绘制如图05所示的路径,并将路径存储为路径2。
6、按Ctrl+Enter键将路径转换为选区,新建图层“图层1”,设置前景色为暗红色,填充选区,效果如图06所示。
7、单击“添加图层样式”按钮,在弹出的下拉列表中选择“投影”命令,设置弹出的对话框如图07所示,再选择“外发光”和“内发光”、“描边”选项,设置其对话框如图08、09、10所示,得到的效果如图11所示。
8、复制图层1为“图层1副本”,设置“填充”为0%,同时将“投影”和“描边”图层样式清除,再更改“外发光”和“内发光”对话框中的参数,如图12和13所示,得到效果如图14所示。
9、用上面的方法制作绿色的霓虹灯边框,最终效果如图15所示。
推荐继续学习,上一篇ps教程:Photoshop打造生冷坚硬的铁板效果 下一篇ps教程:Photoshop打造月亮之下舞动的心灵
学习更多ps教程