Photoshop打造穿PRADA的魔鬼海报
要点:魔鬼海报
先看一下效果:

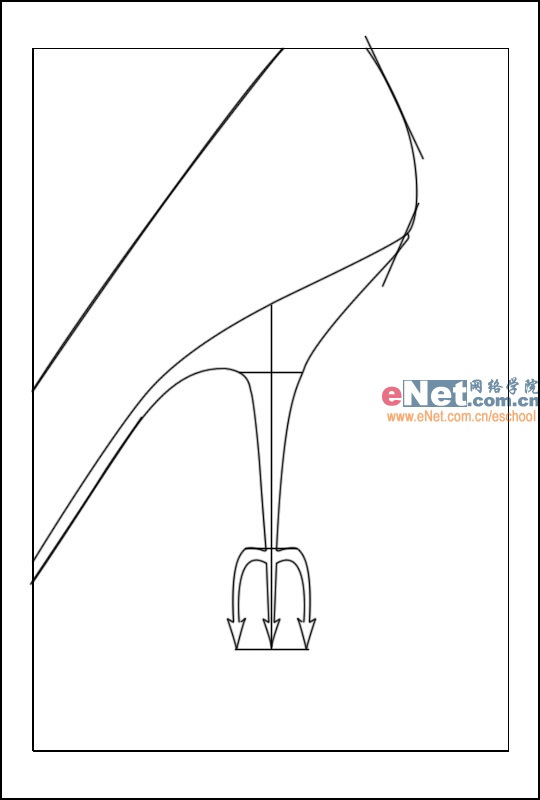
新建一层,先用钢笔工具勾出鞋的主体与鞋跟的中轴。

接下来勾出鞋子的外边框。鞋跟是一个小叉子。
先在画框与鞋子主体部分铺上黑色与暗红色。

接着画出鞋底与鞋子中部的阴影部分。上面阴影的画法是用钢笔勾出阴影的轮廓,转换为选区,然后渐变填充。

鞋帮的部分用朱红提亮

下面提出高光,画法与画阴影部分的方法相同,高光左侧的明暗交接线部分可以用橡皮工具适当降低不透明度擦除使过渡更加自然。

勾出鞋帮附近的两条反光线。

新建一层,在鞋帮高光的左边加上朱红的过渡色,突出立体感。

最后在叉子下面微微描出些阴影。

最终效果:
先看一下效果:
新建一层,先用钢笔工具勾出鞋的主体与鞋跟的中轴。
接下来勾出鞋子的外边框。鞋跟是一个小叉子。
先在画框与鞋子主体部分铺上黑色与暗红色。
接着画出鞋底与鞋子中部的阴影部分。上面阴影的画法是用钢笔勾出阴影的轮廓,转换为选区,然后渐变填充。
鞋帮的部分用朱红提亮
下面提出高光,画法与画阴影部分的方法相同,高光左侧的明暗交接线部分可以用橡皮工具适当降低不透明度擦除使过渡更加自然。
勾出鞋帮附近的两条反光线。
新建一层,在鞋帮高光的左边加上朱红的过渡色,突出立体感。
最后在叉子下面微微描出些阴影。
最终效果:
推荐继续学习,上一篇ps教程:用Photoshop制作靓丽的超时尚唇彩 下一篇ps教程:DIY:Photoshop打造精美游鱼鼠标
学习更多ps教程