教你用Photoshop打造迷你时尚小钟
要点:时尚
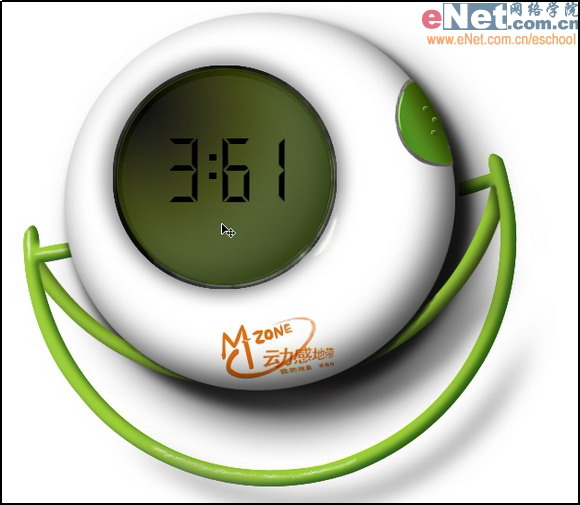
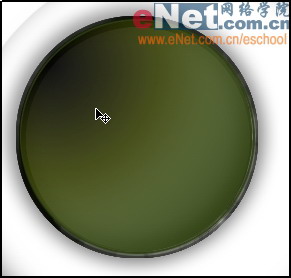
先看一下效果:
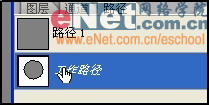
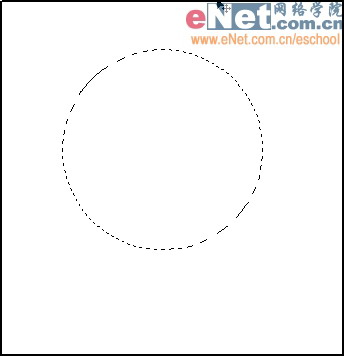
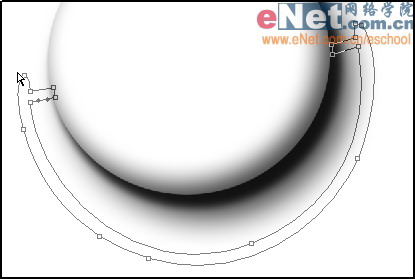
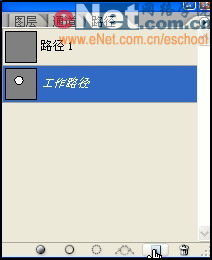
1.新建一个800*800像素,用椭圆选框工具按shift画出正圆,按ctrl+Dalete填充白色,转化为路径保存
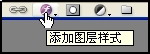
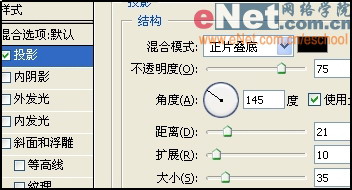
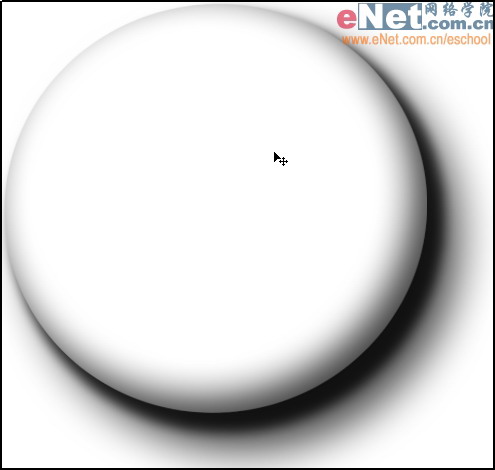
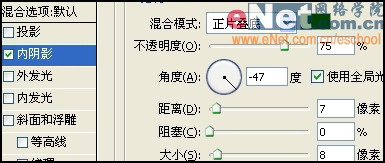
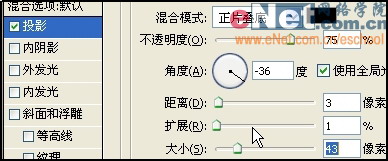
2.加图层样式,就是图层面版下面的那个f似的按钮,得到效果如图

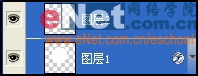
3.复制这层重新命名,名字随便取个,然后在图层1上边新建个空层,按ctrl选住这两层,再按ctrl加E合并为一个普通层,少了这步等下后面就知道麻烦了
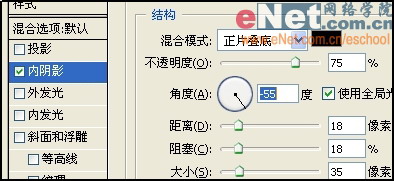
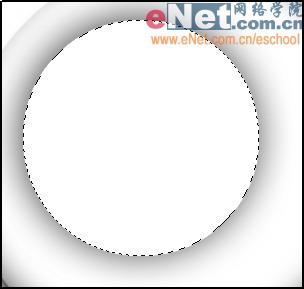
4.新建个层,调出原来保存的选区,还是填充同样的白色,加图层样式,得到效果如图,
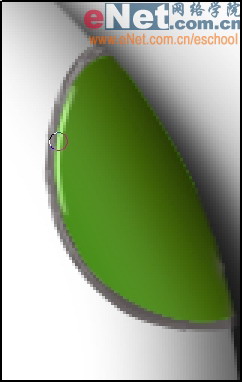
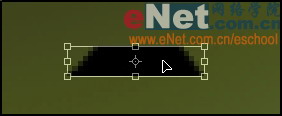
经过前3个步骤一个钟面的效果出来了,接下来画出钟支撑的脚,然后按ctrl加回车填充个R155G206R56左右的颜色,加图层样式,得到效果如图
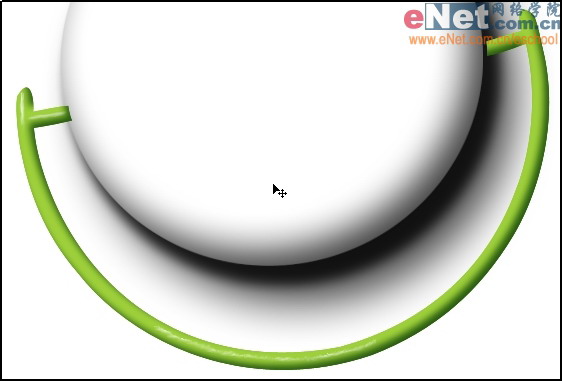
这上面的点小高光就是放大后用点白色直接画上去的
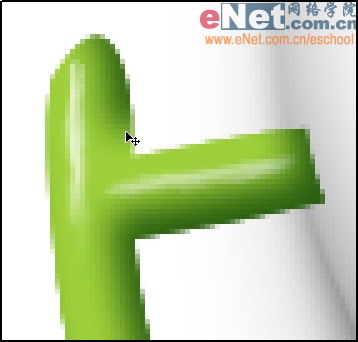
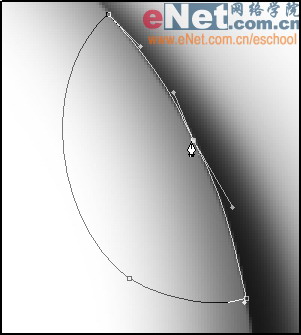
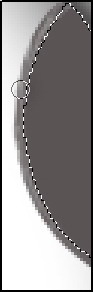
5.然后做出另外个支撑的,把这个图层放在前个支撑的下面,就得出这种前后叠加关系了,有露出的地方可以用橡皮擦掉
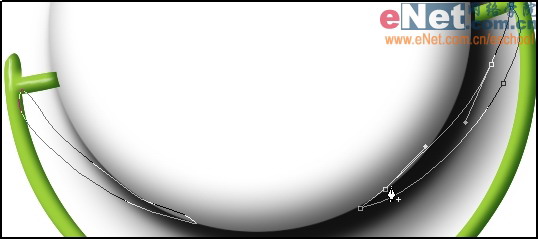

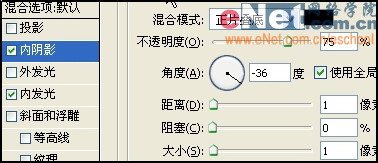
6,把这两个支撑的各复制一份按ctrl+shift+U去色,移动到阴影的位置,擦掉多余的再把图层不透明度调到60,高斯模糊下得到效果如图


7.在钟的面上拖出圆填充白色加图层样式
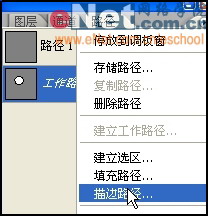
8.不要取消选择,按下面的这个小按钮转化为路径稍做改动
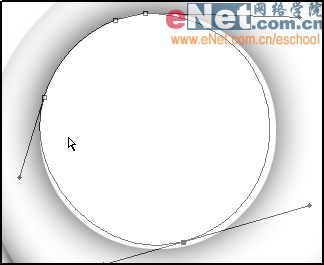
9.按ctrl+回车转化为选区填充白色
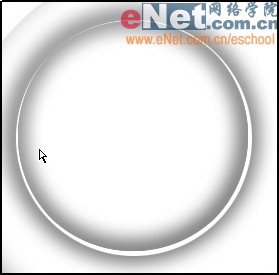
10.用圆形路径描个10左右的边,这样钟面就有一定的稳重感
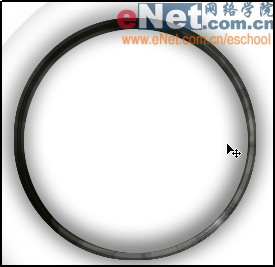
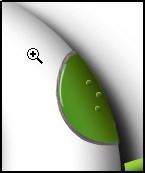
11.还这个选区的基础上填充一个偏橄榄绿的颜色,用加深减淡工具涂下得到效果如图
12.现在来做旁边的小按钮,方法大致一样,画出按钮的形状,按Ctrl加回车填充,填个灰色用加深减淡涂出阴影的变化,这样就凹下去的了
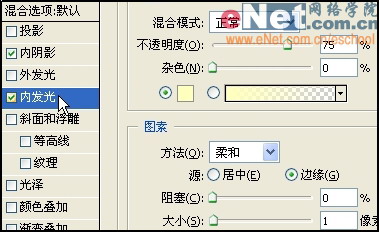
13.做按钮上面几个小点以来增强按钮的效果,这是两个具体的数值,得到效果如图
14,做钟上面显示的数字方法很简单,(傻瓜版的)其他的就按自由变换工具来转个方向就可以了,


15.到这步效果就差不多完成了,别忘了添加个标志什么的,我就偷下懒了就用上次做海报的那标志了,把模式改为叠加就OK了。呵呵直接把你的名字打上去稍微做下变形也不失为一个好的标志
先看一下效果:
1.新建一个800*800像素,用椭圆选框工具按shift画出正圆,按ctrl+Dalete填充白色,转化为路径保存
2.加图层样式,就是图层面版下面的那个f似的按钮,得到效果如图
3.复制这层重新命名,名字随便取个,然后在图层1上边新建个空层,按ctrl选住这两层,再按ctrl加E合并为一个普通层,少了这步等下后面就知道麻烦了
4.新建个层,调出原来保存的选区,还是填充同样的白色,加图层样式,得到效果如图,
经过前3个步骤一个钟面的效果出来了,接下来画出钟支撑的脚,然后按ctrl加回车填充个R155G206R56左右的颜色,加图层样式,得到效果如图
这上面的点小高光就是放大后用点白色直接画上去的
5.然后做出另外个支撑的,把这个图层放在前个支撑的下面,就得出这种前后叠加关系了,有露出的地方可以用橡皮擦掉
6,把这两个支撑的各复制一份按ctrl+shift+U去色,移动到阴影的位置,擦掉多余的再把图层不透明度调到60,高斯模糊下得到效果如图
7.在钟的面上拖出圆填充白色加图层样式
8.不要取消选择,按下面的这个小按钮转化为路径稍做改动
9.按ctrl+回车转化为选区填充白色
10.用圆形路径描个10左右的边,这样钟面就有一定的稳重感
11.还这个选区的基础上填充一个偏橄榄绿的颜色,用加深减淡工具涂下得到效果如图
12.现在来做旁边的小按钮,方法大致一样,画出按钮的形状,按Ctrl加回车填充,填个灰色用加深减淡涂出阴影的变化,这样就凹下去的了
13.做按钮上面几个小点以来增强按钮的效果,这是两个具体的数值,得到效果如图
14,做钟上面显示的数字方法很简单,(傻瓜版的)其他的就按自由变换工具来转个方向就可以了,
15.到这步效果就差不多完成了,别忘了添加个标志什么的,我就偷下懒了就用上次做海报的那标志了,把模式改为叠加就OK了。呵呵直接把你的名字打上去稍微做下变形也不失为一个好的标志
推荐继续学习,上一篇ps教程:Photoshop跟我学调色教程之练习4 下一篇ps教程:Photoshop跟我学调色教程之练习5
学习更多ps教程