教你用Photoshop打造恐怖电影海报
要点:
先看一下效果:
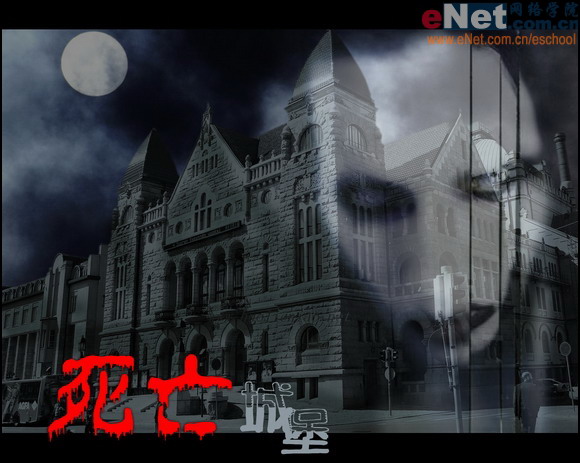
>>如果你有照着做,那么把你做的图拿到学院俱乐部“秀”一下吧!
制作过程:
1、打开一张风景图片,效果如图01所示。
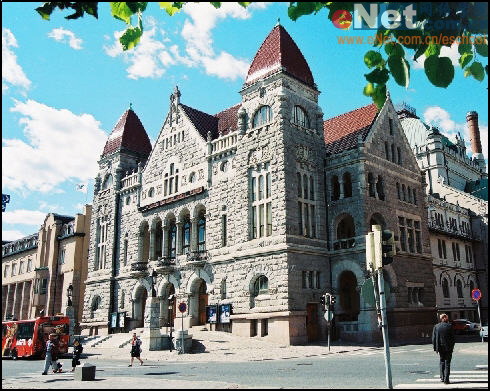
图01
2、选择工具箱中的“多边形套索工具”,将图片中除建筑物以外的部分选中并删除,如图02所示。
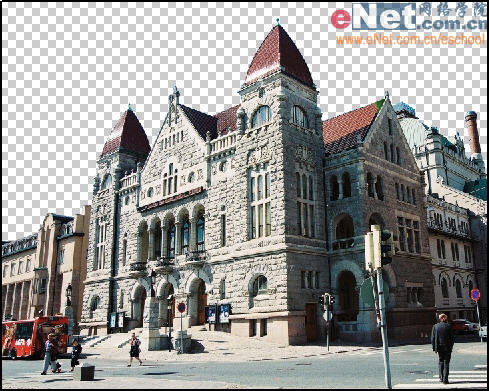
图02
3、打开一张天空的图片,如图03所示。
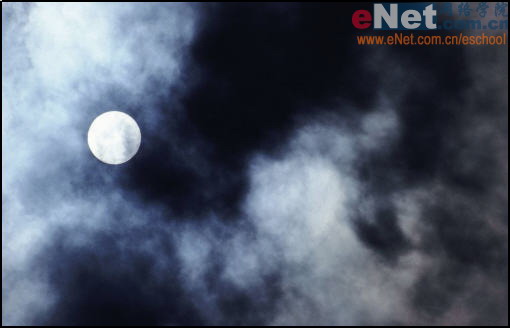
图03
4、将天空放到建筑物的后面,并为天空添加透视变形效果来增加背景深度,效果如图04所示。
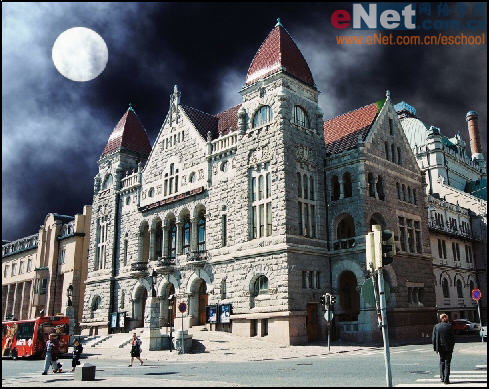
图04
5、如图05所示建筑物的边缘还留有原图片的颜色,下面将其删除。选择工具箱中的“魔棒工具”,将天空层隐藏,然后选择建筑物层的空白部分,然后执行菜单栏中的“选择”“修改”“扩展”命令,如图06所示,在弹出的对话框中设置合适的数值,使选择范围能够包含到需要校色的建筑物边缘。执行菜单栏中的“图像”“调整”“色相/饱和度”命令,调整边缘的颜色,效果如图07所示。
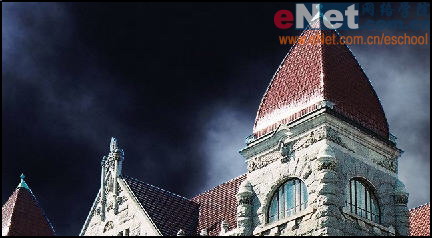
图05
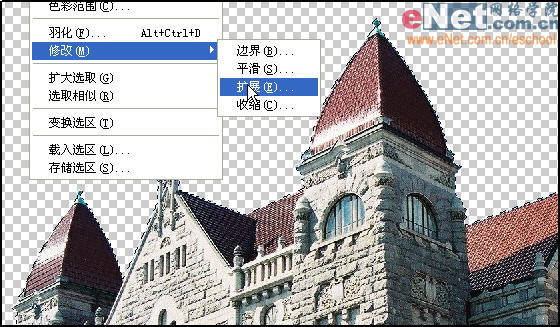
图06
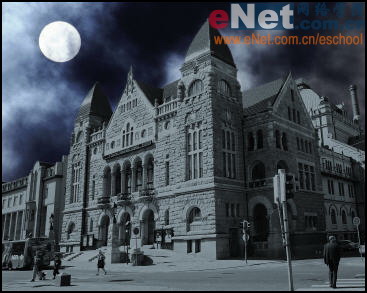
图07
6、新建图层,选择工具箱中的“画笔工具”,在建筑物上涂抹一些颜色,然后将该图层的混合模式变为“叠加”,效果如图08所示。
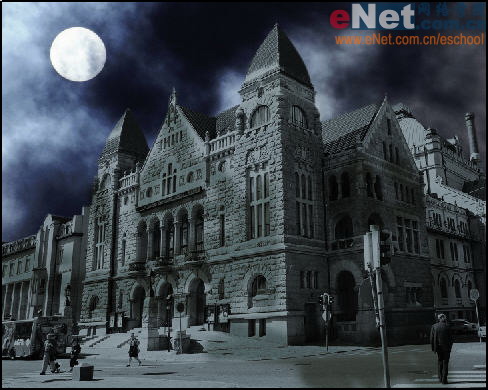
图08
7、打开一幅恐怖的图片并将其拖拽到最上层,然后将不透明度调整到45%,效果如图09所示。
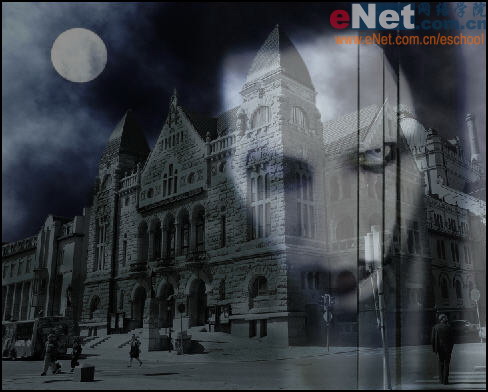
图09
8、选择工具箱中的“矩形选框工具”,在画面中框选上下两部分并填充黑色,效果如图10所示。
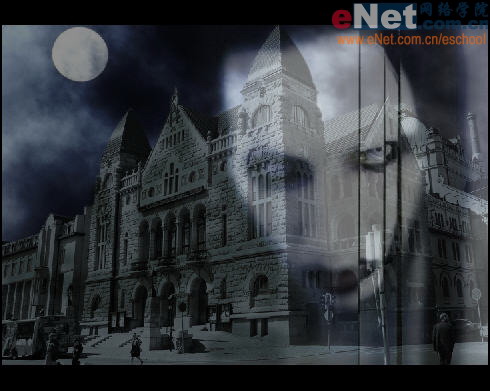
图10
9、新建图层并填充黑色,然后选择文字工具输入文字并将文字栅格化,再按Ctrl+E键合并。选择菜单栏中的“图像”“旋转画布”“顺时针90度”,效果如图11所示。
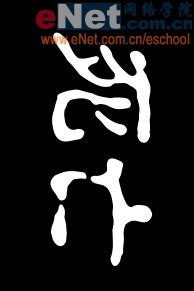
图11
10、选择菜单栏中的“滤镜”“风格化”“风”命令,弹出的对话框设置如图12所示,然后按Ctrl+F两次,效果如图13所示。
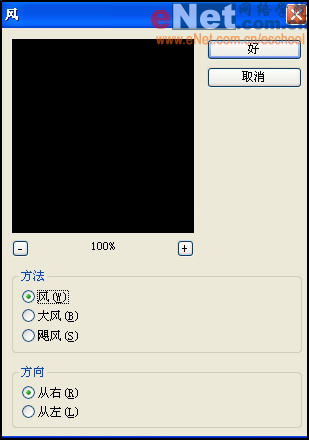
图12
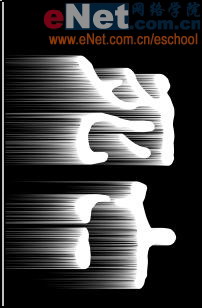
图13
11、选择菜单栏中的“图像”“旋转画布”“逆时针90度”,选择菜单栏中的“滤镜”“艺术效果”“塑料包装”命令,在弹出的对话框中设置高光强度为10,细节8,平滑度2,如图14所示,画面效果如图15。
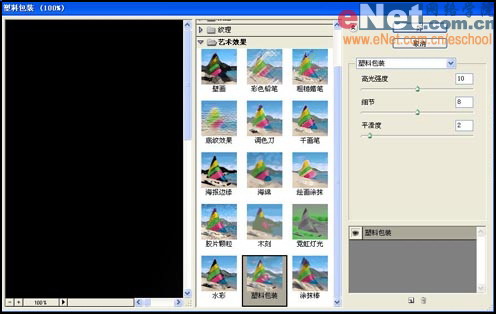
图14
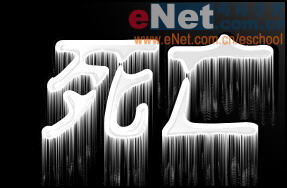
图15
12、选择菜单栏中的“滤镜”“模糊”“高斯模糊”命令,设置半径为1.2像素,然后复制该图层。
13、选择菜单栏中的“图像”“调整”“色阶”,输入色阶188、1.00、255,效果如图16所示。
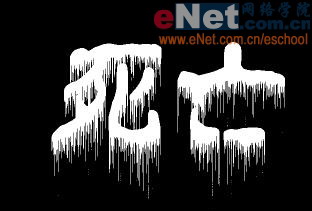
图16
14、隐藏副本图层,选择菜单栏中的“图像”“调整”“色阶”,输入色阶62、0.73、205,效果如图17所示。

图17
15、设置前景色为红色,用魔棒工具选择文字,填充文字,然后选择副本图层将混合模式改为“正片叠底”,然后选择文字并反选,将黑色背景删除,最终效果如图18所示。
图18
先看一下效果:
>>如果你有照着做,那么把你做的图拿到学院俱乐部“秀”一下吧!
制作过程:
1、打开一张风景图片,效果如图01所示。
图01
2、选择工具箱中的“多边形套索工具”,将图片中除建筑物以外的部分选中并删除,如图02所示。
图02
3、打开一张天空的图片,如图03所示。
图03
4、将天空放到建筑物的后面,并为天空添加透视变形效果来增加背景深度,效果如图04所示。
图04
5、如图05所示建筑物的边缘还留有原图片的颜色,下面将其删除。选择工具箱中的“魔棒工具”,将天空层隐藏,然后选择建筑物层的空白部分,然后执行菜单栏中的“选择”“修改”“扩展”命令,如图06所示,在弹出的对话框中设置合适的数值,使选择范围能够包含到需要校色的建筑物边缘。执行菜单栏中的“图像”“调整”“色相/饱和度”命令,调整边缘的颜色,效果如图07所示。
图05
图06
图07
6、新建图层,选择工具箱中的“画笔工具”,在建筑物上涂抹一些颜色,然后将该图层的混合模式变为“叠加”,效果如图08所示。
图08
7、打开一幅恐怖的图片并将其拖拽到最上层,然后将不透明度调整到45%,效果如图09所示。
图09
8、选择工具箱中的“矩形选框工具”,在画面中框选上下两部分并填充黑色,效果如图10所示。
图10
9、新建图层并填充黑色,然后选择文字工具输入文字并将文字栅格化,再按Ctrl+E键合并。选择菜单栏中的“图像”“旋转画布”“顺时针90度”,效果如图11所示。
图11
10、选择菜单栏中的“滤镜”“风格化”“风”命令,弹出的对话框设置如图12所示,然后按Ctrl+F两次,效果如图13所示。
图12
图13
11、选择菜单栏中的“图像”“旋转画布”“逆时针90度”,选择菜单栏中的“滤镜”“艺术效果”“塑料包装”命令,在弹出的对话框中设置高光强度为10,细节8,平滑度2,如图14所示,画面效果如图15。
图14
图15
12、选择菜单栏中的“滤镜”“模糊”“高斯模糊”命令,设置半径为1.2像素,然后复制该图层。
13、选择菜单栏中的“图像”“调整”“色阶”,输入色阶188、1.00、255,效果如图16所示。
图16
14、隐藏副本图层,选择菜单栏中的“图像”“调整”“色阶”,输入色阶62、0.73、205,效果如图17所示。
图17
15、设置前景色为红色,用魔棒工具选择文字,填充文字,然后选择副本图层将混合模式改为“正片叠底”,然后选择文字并反选,将黑色背景删除,最终效果如图18所示。
图18
推荐继续学习,上一篇ps教程:Photoshop跟我学调色教程之练习1 下一篇ps教程:用Photoshop打造逼真的卫星照片
学习更多ps教程