用Photoshop制作错位的马赛克文字
要点:马赛克文字
先看一下效果:

就像将文字撕成很多个碎片,并胡乱拼接一样,表现出不规则的韵律美。
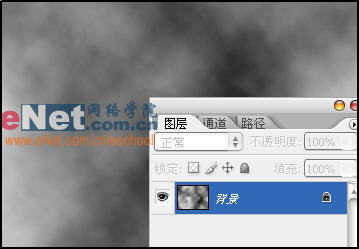
新建工作窗口,然后执行“滤镜”→“渲染”→“云彩”命令,制作出不规则的黑白云雾图案。
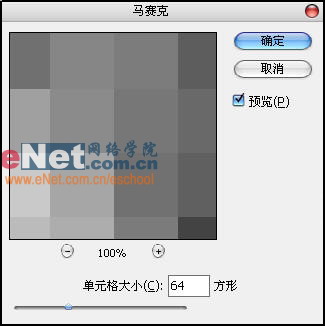
执行“滤镜”→“像素化”→“马赛克”命令,将单元格大小设置为64。
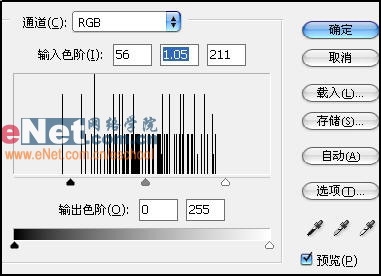
现在调节色阶使图像变得更清晰,执行“图像”→“调整”→“色阶”命令,设置色阶为:56、1.05、211。
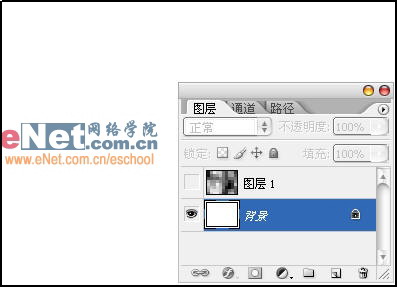
将操作到现在的效果图保存为置换滤镜的素材。按“Ctrl+J”复制马赛克图案,然后将新生成的图层隐藏,选择背景图层将其填充为白色。
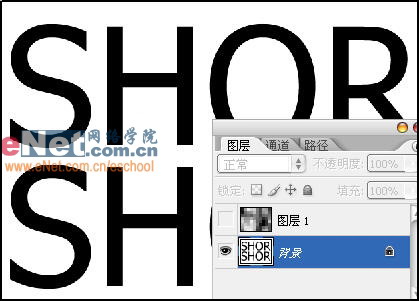
下面我们就来输入文字,使用“Ctrl+T”键将其调节到与背景图层一样大小,然后合并文本图层和背景图层。
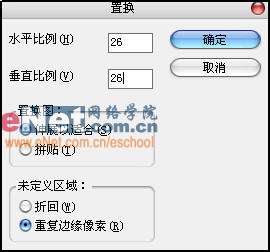
现在在菜单栏中执行“滤镜”→“扭曲”→“置换”命令,在弹出对话框中分别设置水平比例和垂直比例为26。
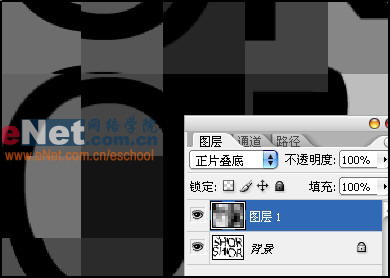
显示刚才隐藏的瓷砖图层,将其混合模式改为正片叠底。
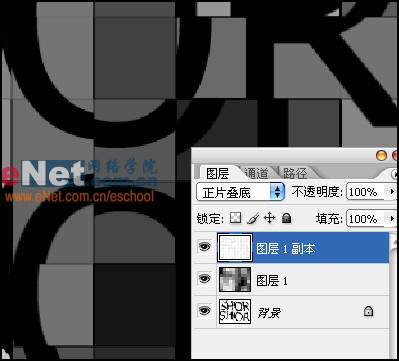
复制图层1为图层1副本,然后在图层1副本执行“滤镜”→“风格化”→“查找边缘”命令,设置其混合模式为正片叠底。
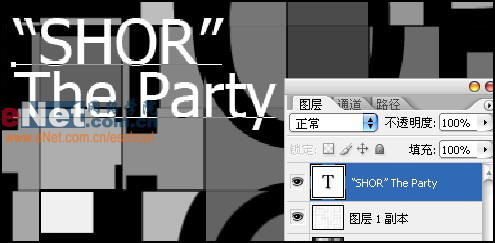
输入标题文字。
现在看来背景图案过于亮,我们心在新建一个图层,填充黑色,然后调节其不透明度为35%。
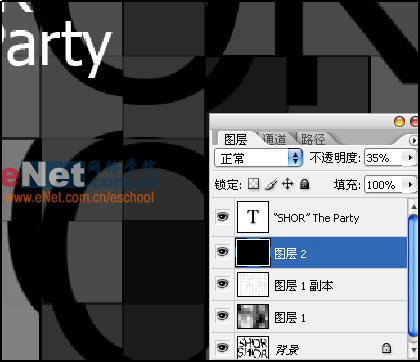
调节标题位置和大小,完成制作。
先看一下效果:
就像将文字撕成很多个碎片,并胡乱拼接一样,表现出不规则的韵律美。
新建工作窗口,然后执行“滤镜”→“渲染”→“云彩”命令,制作出不规则的黑白云雾图案。
执行“滤镜”→“像素化”→“马赛克”命令,将单元格大小设置为64。
现在调节色阶使图像变得更清晰,执行“图像”→“调整”→“色阶”命令,设置色阶为:56、1.05、211。
将操作到现在的效果图保存为置换滤镜的素材。按“Ctrl+J”复制马赛克图案,然后将新生成的图层隐藏,选择背景图层将其填充为白色。
下面我们就来输入文字,使用“Ctrl+T”键将其调节到与背景图层一样大小,然后合并文本图层和背景图层。
现在在菜单栏中执行“滤镜”→“扭曲”→“置换”命令,在弹出对话框中分别设置水平比例和垂直比例为26。
显示刚才隐藏的瓷砖图层,将其混合模式改为正片叠底。
复制图层1为图层1副本,然后在图层1副本执行“滤镜”→“风格化”→“查找边缘”命令,设置其混合模式为正片叠底。
输入标题文字。
现在看来背景图案过于亮,我们心在新建一个图层,填充黑色,然后调节其不透明度为35%。
调节标题位置和大小,完成制作。
推荐继续学习,上一篇ps教程:Photoshop打造绚丽的星球爆炸效果 下一篇ps教程:海滩情结:用Ps打造手写沙滩字
学习更多ps教程