Photoshop打造影片中的爆炸场面
要点:爆炸场面
制作工具:Photoshop CS
制作过程:
1、打开两幅素材图片,爆炸场面和汽车,如图01和02所示。
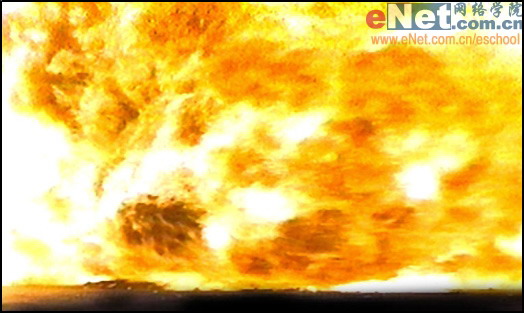
图01
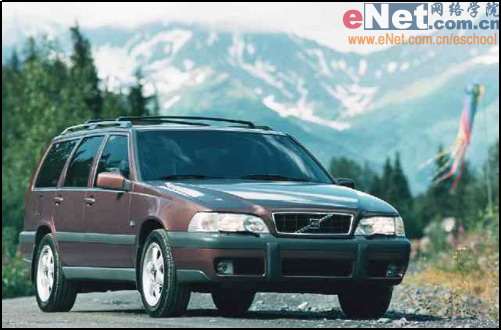
图02
2、选择工具箱中的“钢笔工具”,沿汽车边缘建立选区,效果如图03所示。
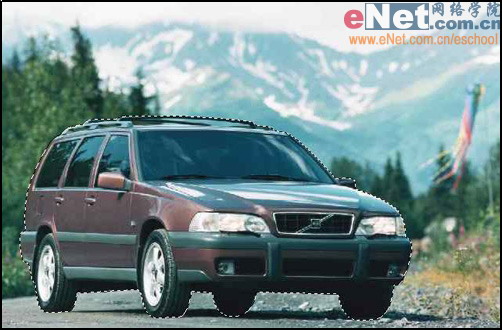
图03
3、选择工具箱中的“移动工具”,将汽车拖拽到爆炸场面的图片中,得到图层1,效果如图04所示。
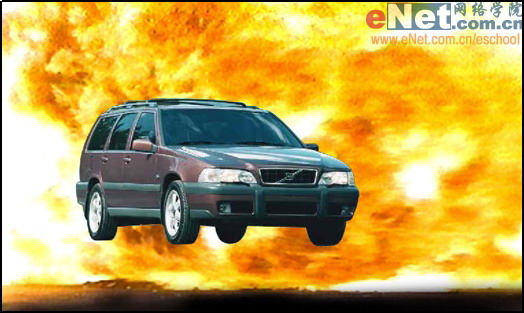
图04
4、选择菜单栏中的“编辑”“自由变换”命令,显示自由变换的编辑框,按下“Shift”键的同时拖动四个角的任意一个控制点,适当调整汽车图像的大小和位置,然后按“Enter”键,完成对图像的变形,效果如图05所示。
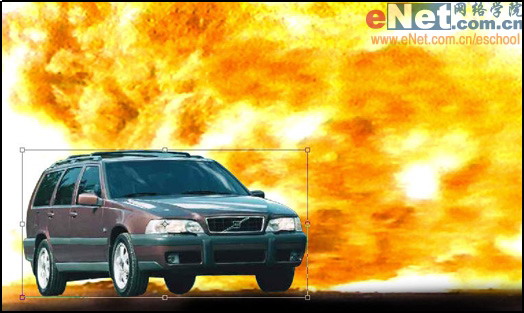
图05
5、选择菜单栏中的“滤镜”“模糊”“高斯模糊”命令,在弹出的高斯模糊对话框中设置半径为3.1像素,单击好按钮后,得到的画面效果如图06所示。
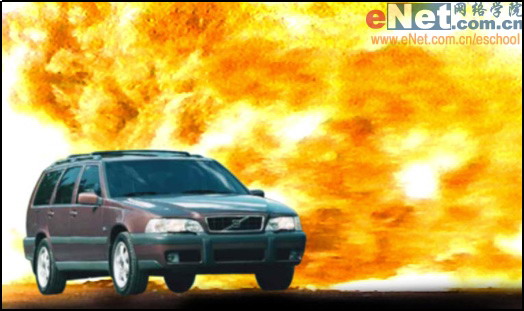
图06
6、按下D键,确定前景色和背景色为默认的黑色和白色。单击图层面板底部的添加图层蒙版按钮,为图层1添加蒙版。选择工具栏中的“渐变工具”,应用默认的前景色到背景色的线性渐变填充样式,在如图07所示的车头位置单击鼠标左键并拖拽至车尾处,在此释放鼠标左键后,为蒙版应用黑白的渐变填充,画面效果如图08所示。
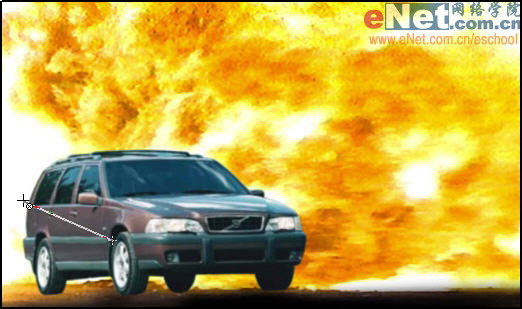
图07
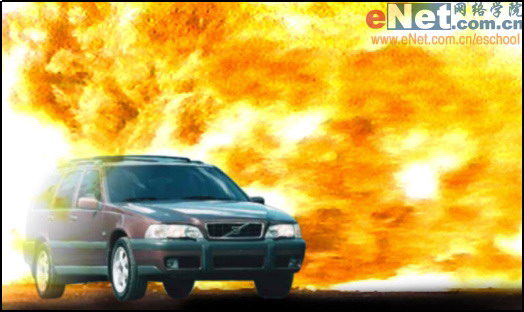
图08
7、在图层控制面板中单击图层缩览图,回到正常模式后,选择菜单栏中的“滤镜”“模糊”“动感模糊”命令,在弹出的动感模糊对话框中设置角度为0,距离为15像素,单击好按钮后,效果如图09所示。
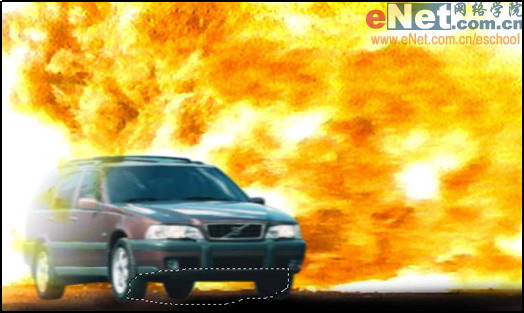
图09
8、单击图层面板底部的创建新图层按钮,新建“图层2”。再选择工具箱中的“套索工具”,建立如图10所示的选区,确定前景色为黑色后按下“Alt+Delete”进行填充,然后取消选区。
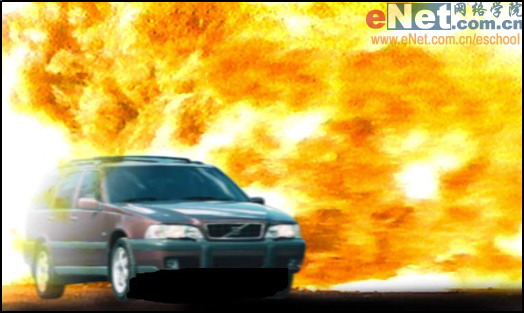
图10
9、将图层2拖动到图层1的下方,选择菜单栏中的“滤镜”“模糊”“动感模糊”命令,在弹出的动感模糊对话框中设置角度为0,距离为209像素,单击好按钮后,画面的最终效果如图11所示。
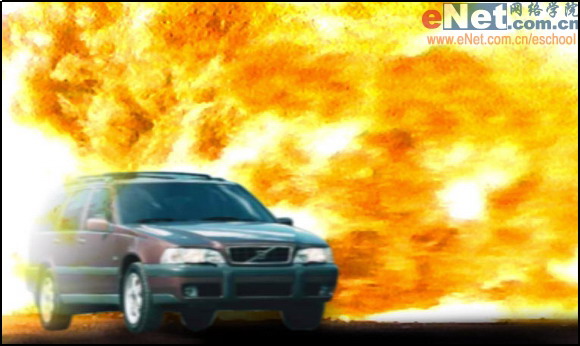
图11
制作工具:Photoshop CS
制作过程:
1、打开两幅素材图片,爆炸场面和汽车,如图01和02所示。
图01
图02
2、选择工具箱中的“钢笔工具”,沿汽车边缘建立选区,效果如图03所示。
图03
3、选择工具箱中的“移动工具”,将汽车拖拽到爆炸场面的图片中,得到图层1,效果如图04所示。
图04
4、选择菜单栏中的“编辑”“自由变换”命令,显示自由变换的编辑框,按下“Shift”键的同时拖动四个角的任意一个控制点,适当调整汽车图像的大小和位置,然后按“Enter”键,完成对图像的变形,效果如图05所示。
图05
5、选择菜单栏中的“滤镜”“模糊”“高斯模糊”命令,在弹出的高斯模糊对话框中设置半径为3.1像素,单击好按钮后,得到的画面效果如图06所示。
图06
6、按下D键,确定前景色和背景色为默认的黑色和白色。单击图层面板底部的添加图层蒙版按钮,为图层1添加蒙版。选择工具栏中的“渐变工具”,应用默认的前景色到背景色的线性渐变填充样式,在如图07所示的车头位置单击鼠标左键并拖拽至车尾处,在此释放鼠标左键后,为蒙版应用黑白的渐变填充,画面效果如图08所示。
图07
图08
7、在图层控制面板中单击图层缩览图,回到正常模式后,选择菜单栏中的“滤镜”“模糊”“动感模糊”命令,在弹出的动感模糊对话框中设置角度为0,距离为15像素,单击好按钮后,效果如图09所示。
图09
8、单击图层面板底部的创建新图层按钮,新建“图层2”。再选择工具箱中的“套索工具”,建立如图10所示的选区,确定前景色为黑色后按下“Alt+Delete”进行填充,然后取消选区。
图10
9、将图层2拖动到图层1的下方,选择菜单栏中的“滤镜”“模糊”“动感模糊”命令,在弹出的动感模糊对话框中设置角度为0,距离为209像素,单击好按钮后,画面的最终效果如图11所示。
图11
推荐继续学习,上一篇ps教程:Photoshop教你打造创意鼠标法拉利 下一篇ps教程:Photoshop打造美女成暗夜精灵效果
学习更多ps教程