Photoshop滤镜为画面增添浪漫雪花
要点:
我们用Photoshop滤镜为这幅美丽的画面增添浪漫的雪花……
原图:

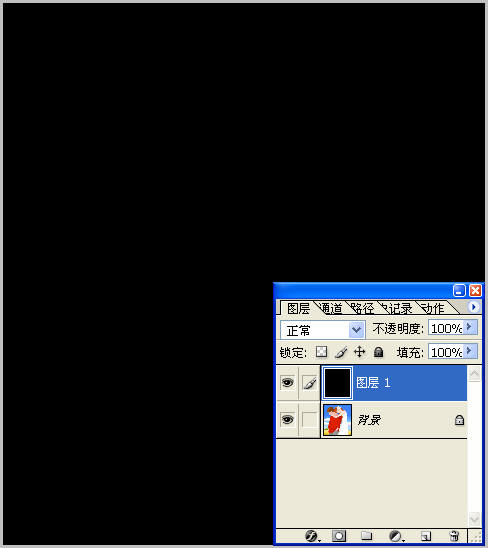
1、在phtoshop中打开原图,新建立一图层,填充为黑色。
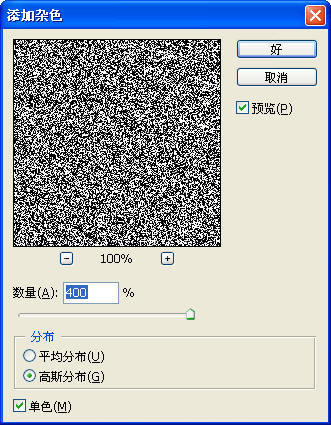
2、“滤镜”-“杂色”-“添加杂色”
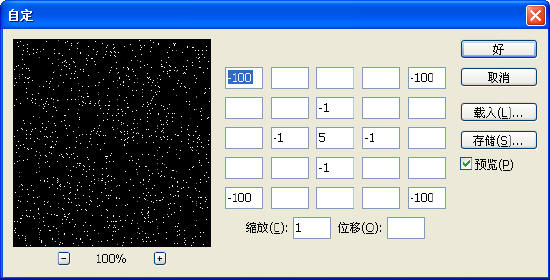
3、“滤镜”-“其他”-“自定”
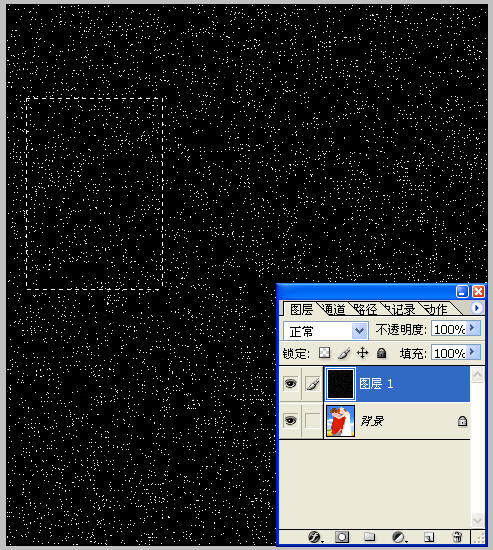
4、用矩形工具选择一个区域,按Ctrl+C复制,按Ctrl+V粘贴
5、“编辑”-“自由变换”,调整到图象大小一样,设置模式和透明度

6、重复4,5两步
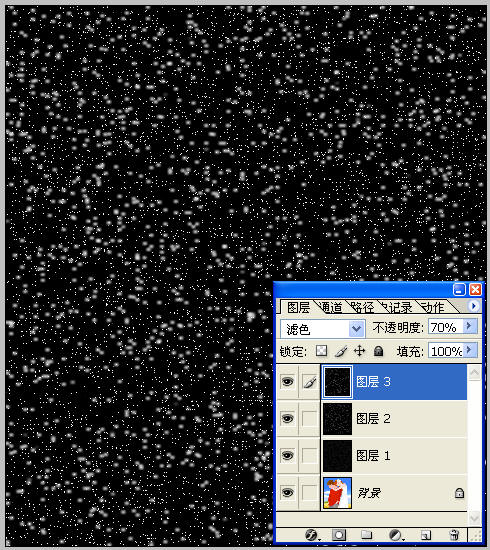
7、关掉图层1的显示标志

8、拼合图层,去掉隐藏的层的效果1如下:

9、也可以把图层1的模式更改:
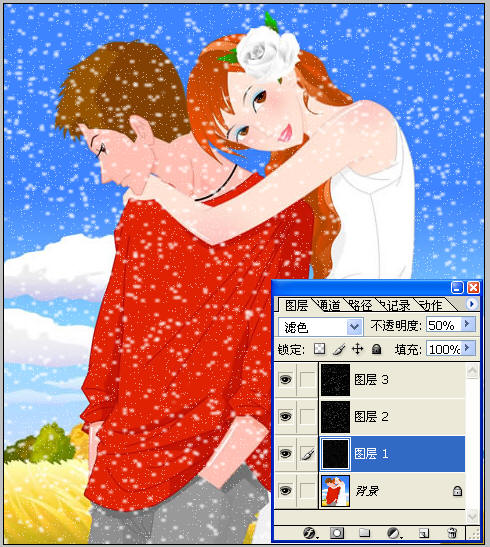
10、拼合图层,效果2如下:

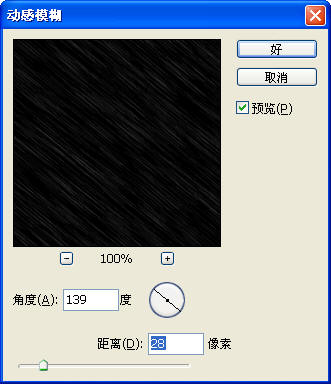
11、还可以对图层1进行动感模糊:
12、更改模式和透明度:
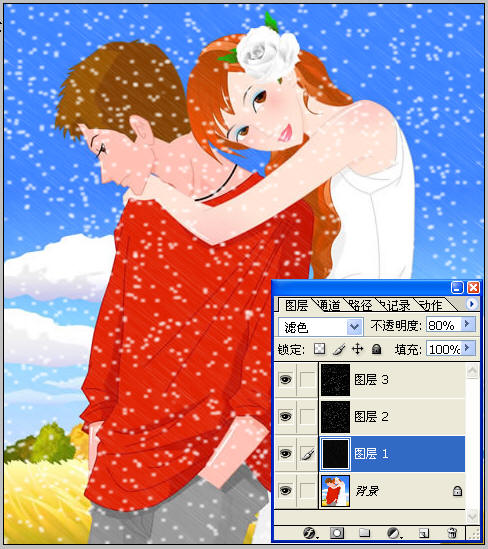
13、拼合图层后的效果3:

我们用Photoshop滤镜为这幅美丽的画面增添浪漫的雪花……
原图:
1、在phtoshop中打开原图,新建立一图层,填充为黑色。
2、“滤镜”-“杂色”-“添加杂色”
3、“滤镜”-“其他”-“自定”
4、用矩形工具选择一个区域,按Ctrl+C复制,按Ctrl+V粘贴
5、“编辑”-“自由变换”,调整到图象大小一样,设置模式和透明度
6、重复4,5两步
7、关掉图层1的显示标志
8、拼合图层,去掉隐藏的层的效果1如下:
9、也可以把图层1的模式更改:
10、拼合图层,效果2如下:
11、还可以对图层1进行动感模糊:
12、更改模式和透明度:
13、拼合图层后的效果3:
推荐继续学习,上一篇ps教程:Photoshop快速打造iPod美女海报 下一篇ps教程:花卉照片处理:简化背景突出主体
学习更多ps教程