PHOTOSHOP打造美丽雨景
要点:
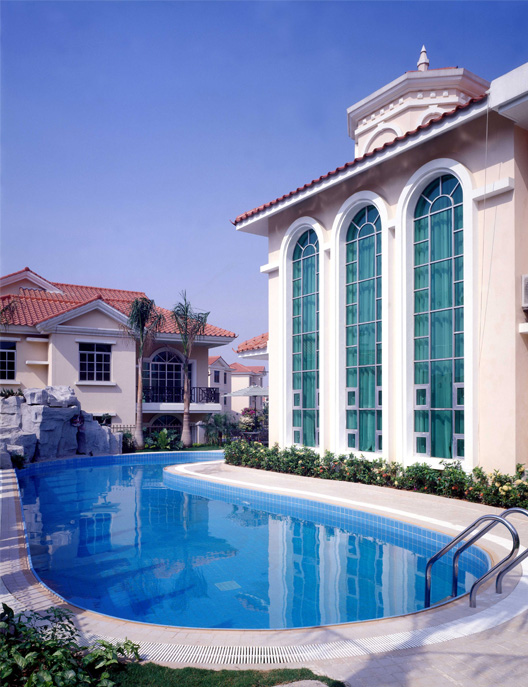
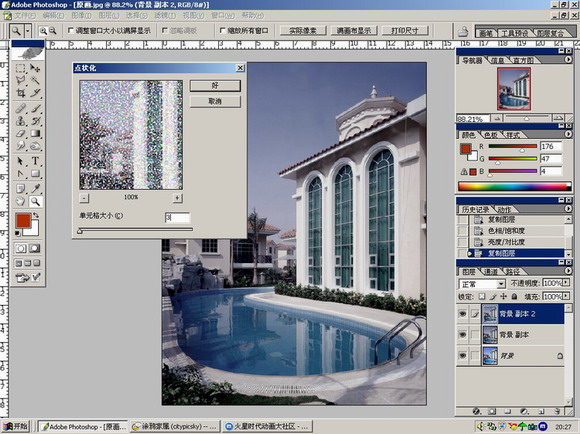
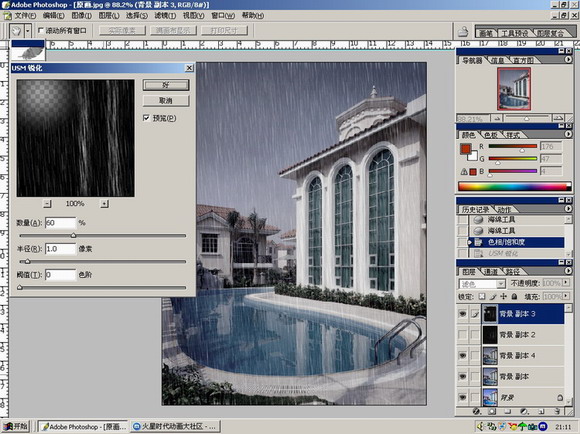
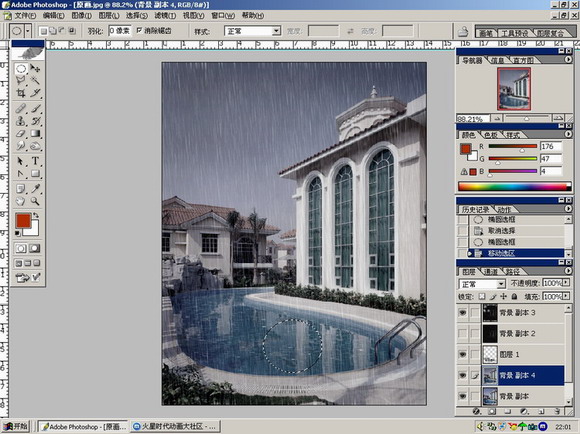
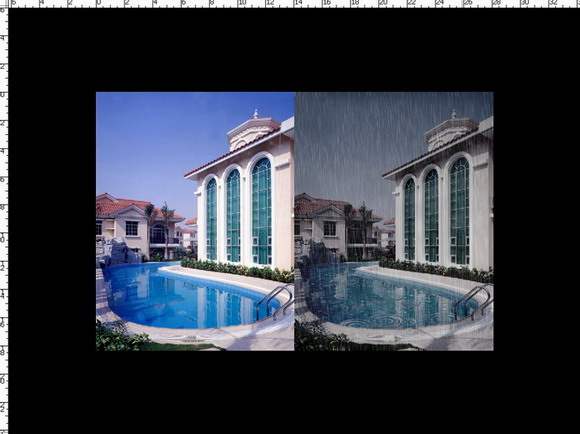
先看一下原图:
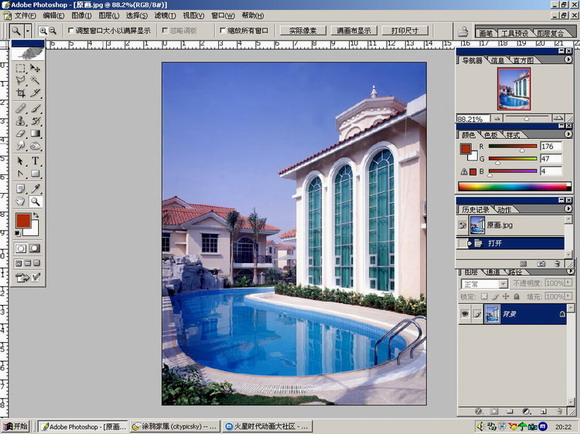
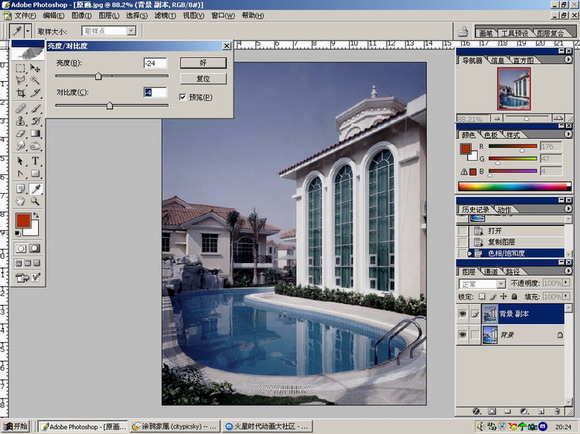
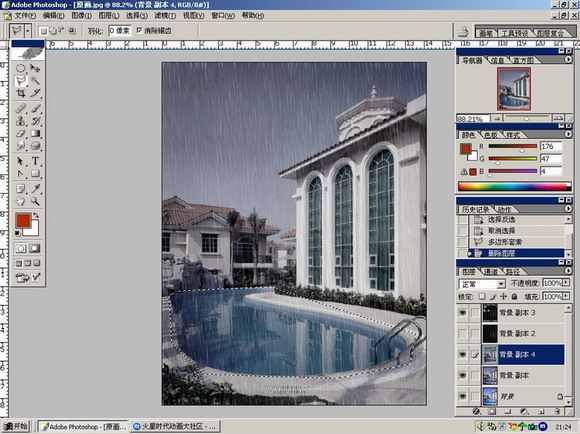
按照阴天的感觉调整画面:
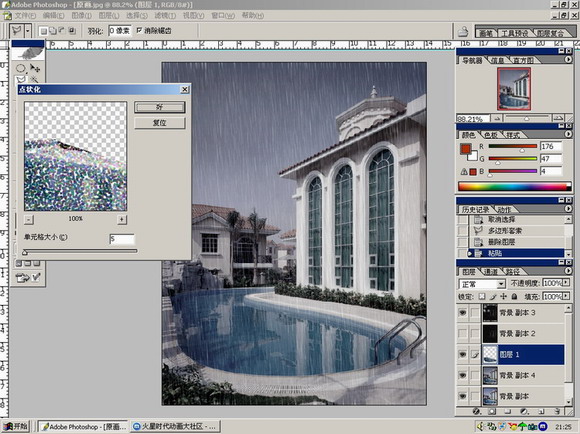
选择象素化滤镜中的“点状化”如图设置:
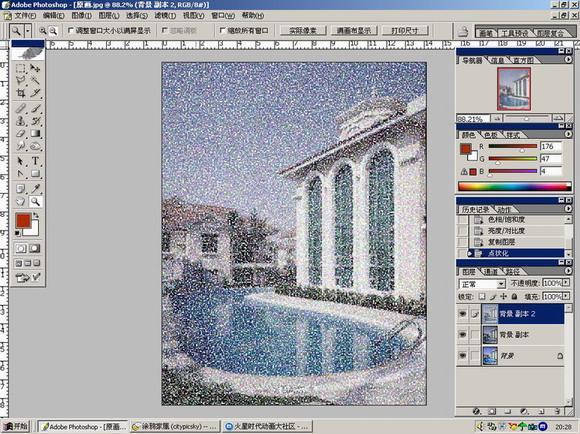
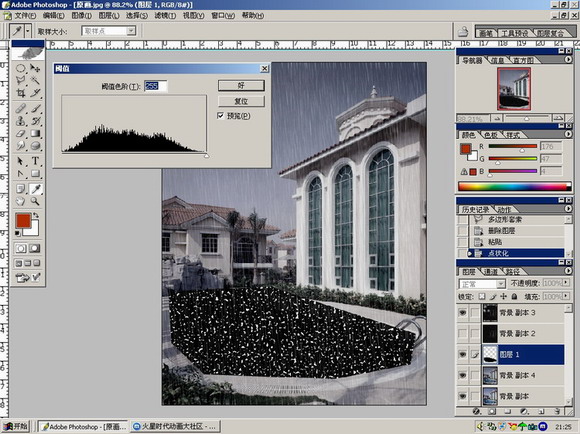
在图象菜单找到“阀值”,调整数值至240;
画面黑了?没关系,到图层属性框选中“滤色”
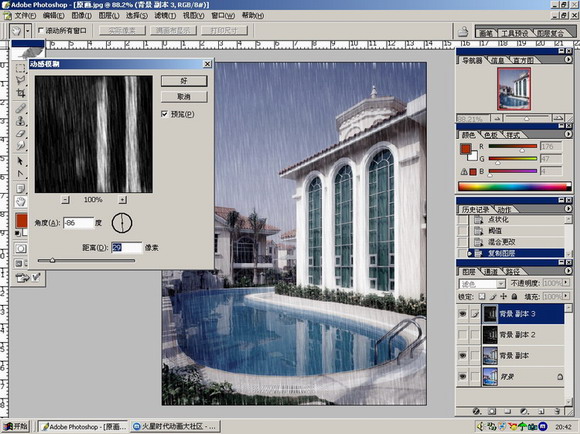
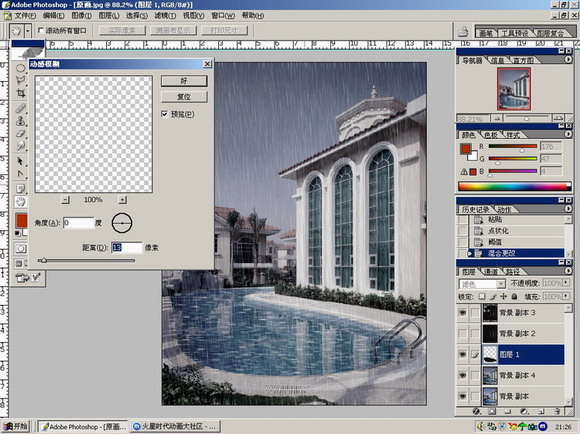
动感模糊:
选择加深工具,注意适当的数值设置:
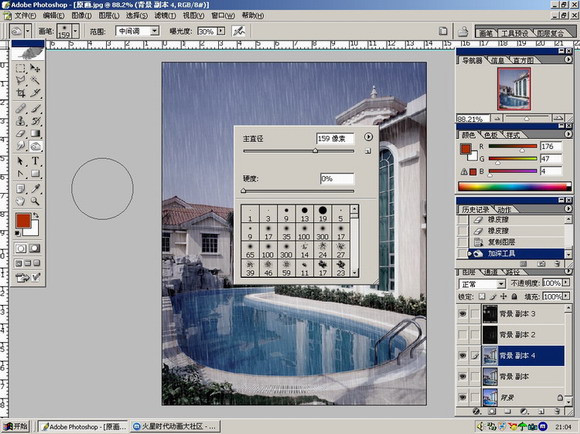
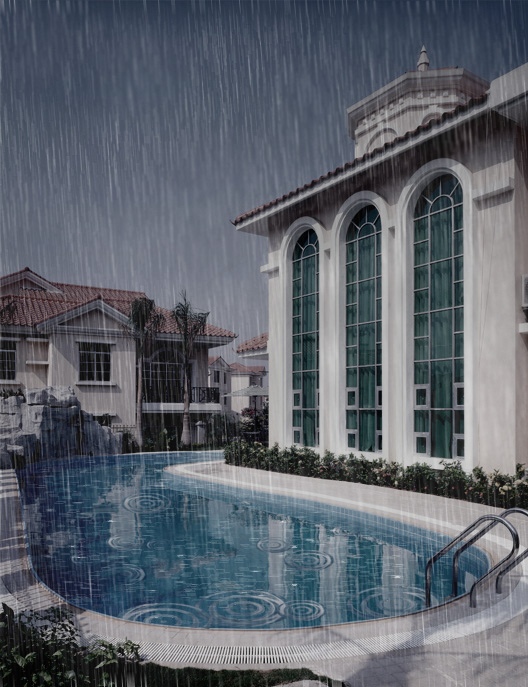
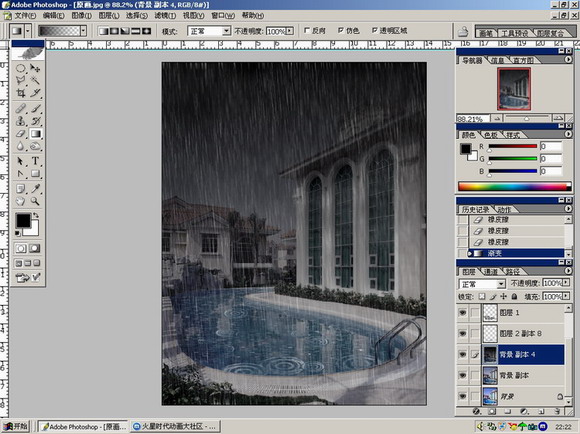
调整透明度,控制雨量的大小(人工降雨哈)
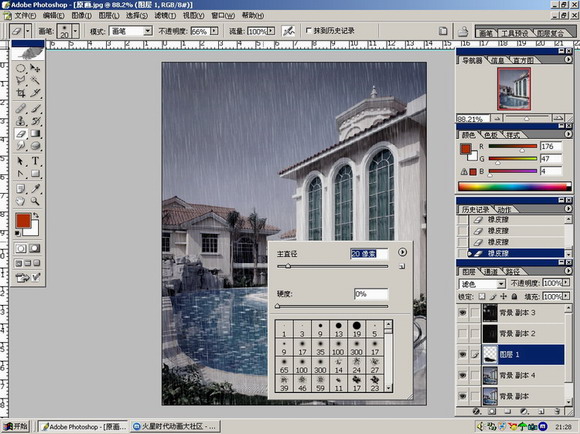
用橡皮轻轻打乱雨的连续性,使之更加自然:
选之:
还记得点状化吧,再来一次:
处理的方法也相同,这个就是“阀值”选项:
搽掉过于抢眼的点点:
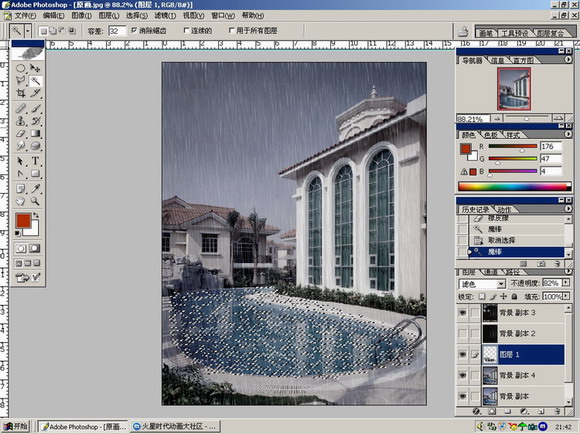
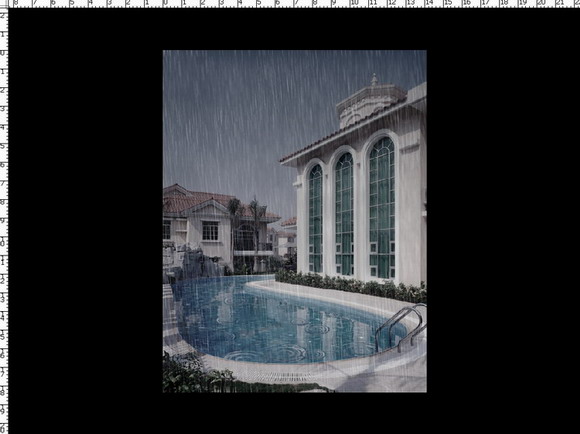
没有涟漪?好办!
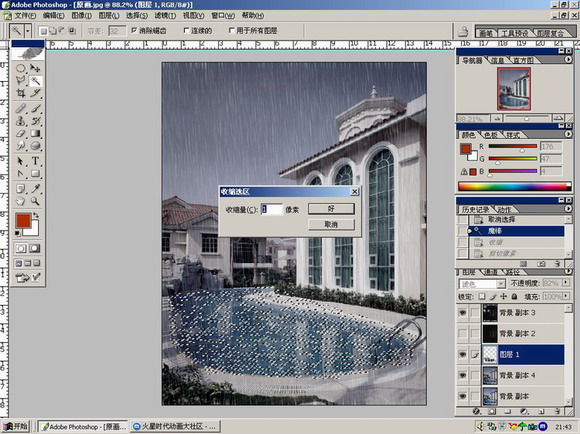
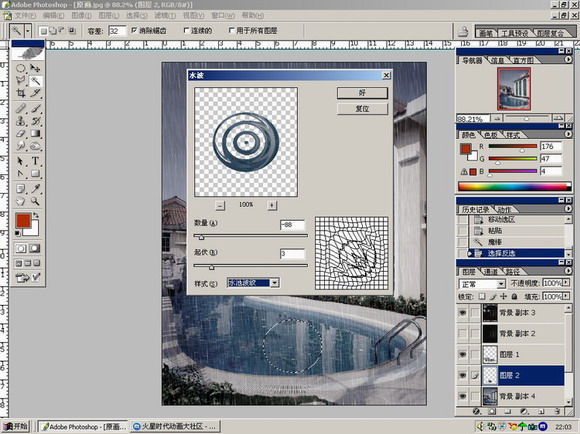
在游泳池中随便选一个圆:
打开扭曲滤镜,选择“水波”,如图调整:
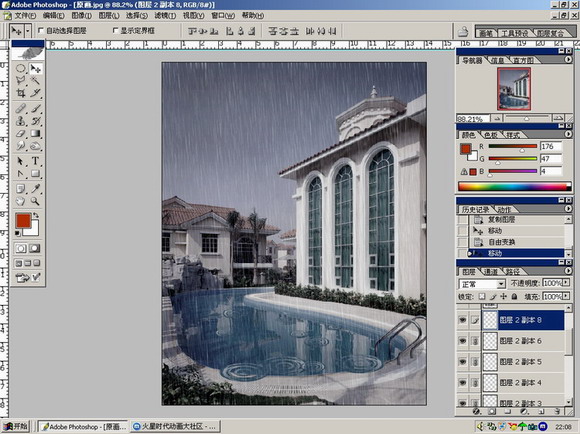
用CTRL+T,进行缩放、翻转、变形
复制一层又一层,怎么摆放看你的心情了:
(有很多制作水纹的插件,本教程考虑普遍的实用性,所以只采用PS默认工具。实践中大家可以灵活运用插件)
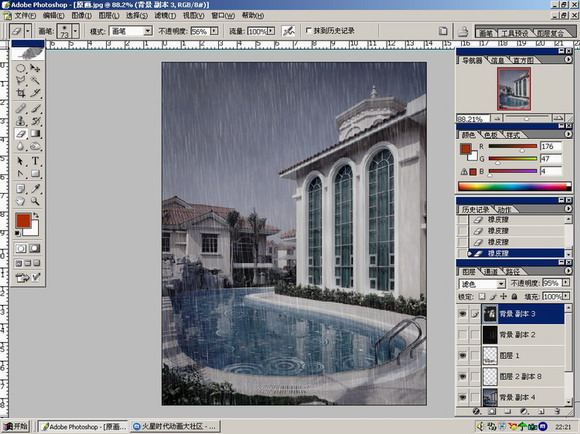
我觉得天还是有些亮,所以加一个渐变层:
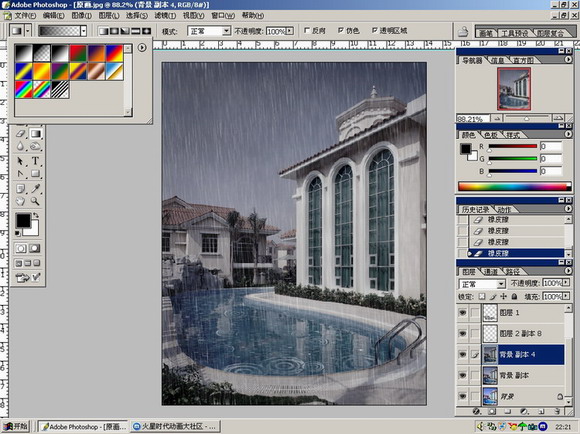
调一下图层透明度就行了:
先看一下原图:
按照阴天的感觉调整画面:
选择象素化滤镜中的“点状化”如图设置:
在图象菜单找到“阀值”,调整数值至240;
画面黑了?没关系,到图层属性框选中“滤色”
动感模糊:
选择加深工具,注意适当的数值设置:
调整透明度,控制雨量的大小(人工降雨哈)
用橡皮轻轻打乱雨的连续性,使之更加自然:
选之:
还记得点状化吧,再来一次:
处理的方法也相同,这个就是“阀值”选项:
搽掉过于抢眼的点点:
没有涟漪?好办!
在游泳池中随便选一个圆:
打开扭曲滤镜,选择“水波”,如图调整:
用CTRL+T,进行缩放、翻转、变形
复制一层又一层,怎么摆放看你的心情了:
(有很多制作水纹的插件,本教程考虑普遍的实用性,所以只采用PS默认工具。实践中大家可以灵活运用插件)
我觉得天还是有些亮,所以加一个渐变层:
调一下图层透明度就行了:
推荐继续学习,上一篇ps教程:PHOTOSHOP打造玉器质感 下一篇ps教程:PHOTOSHOP的超现实教程:蜡烛
学习更多ps教程