Photoshop水波纹滤镜的教程
要点:教程
先看效果!下图是本文设计的最终效果:

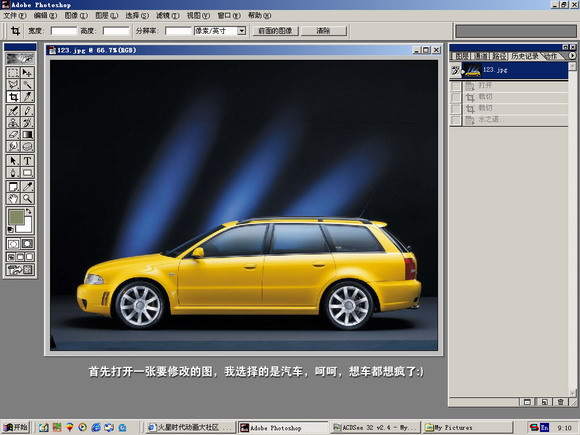
首先打开一张要修改的图:
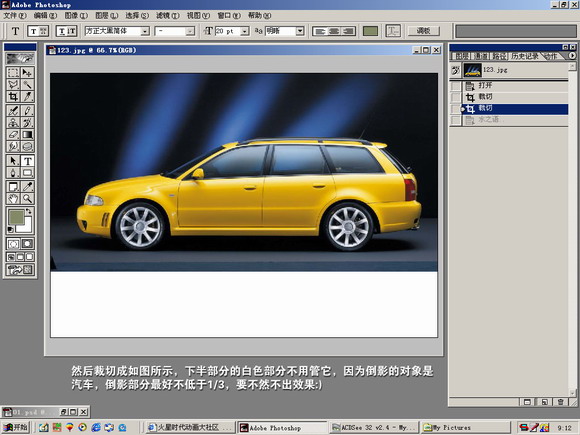
然后裁剪成如图所示:
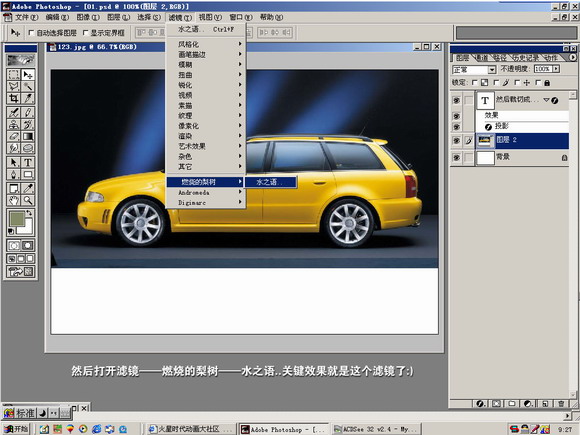
燃烧的梨树
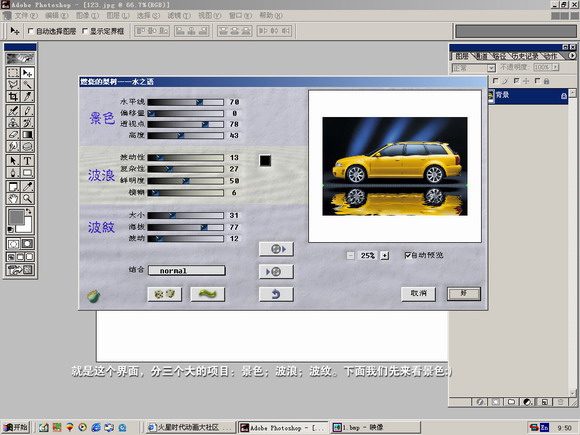
先来看景色
画上水平线:
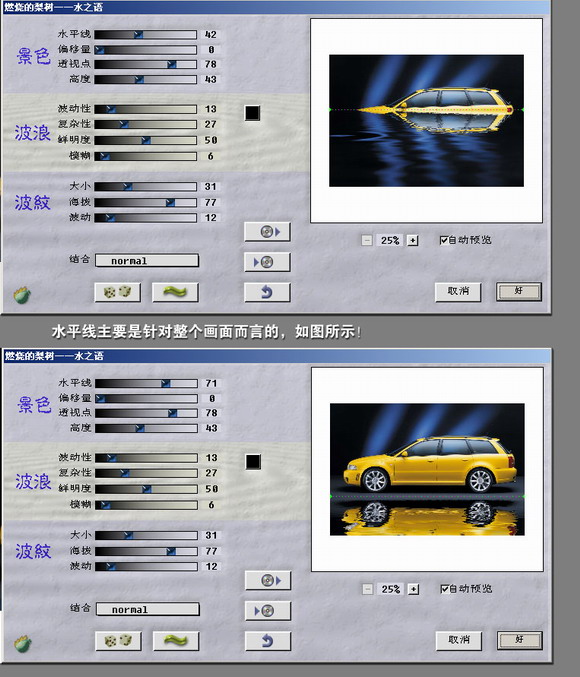
增中偏移量:
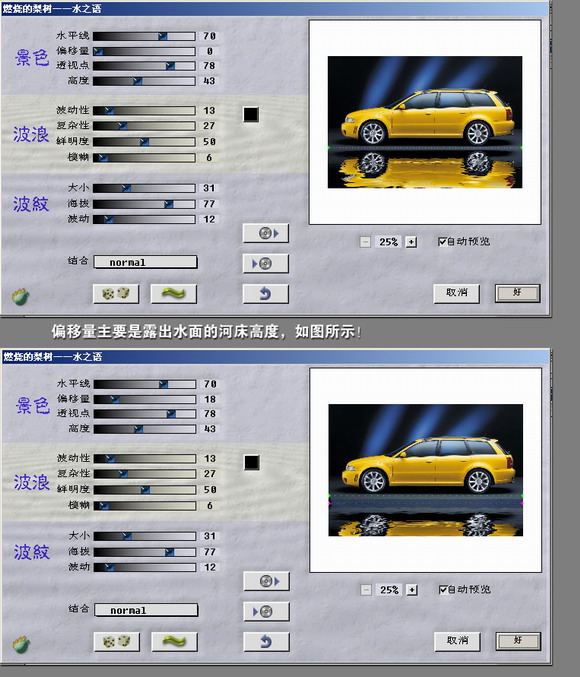
设置透视点:
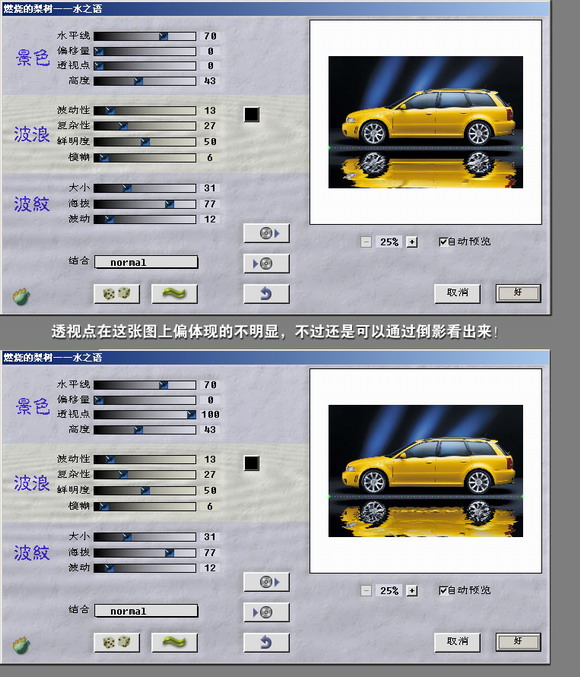
纵向扭曲倒影:
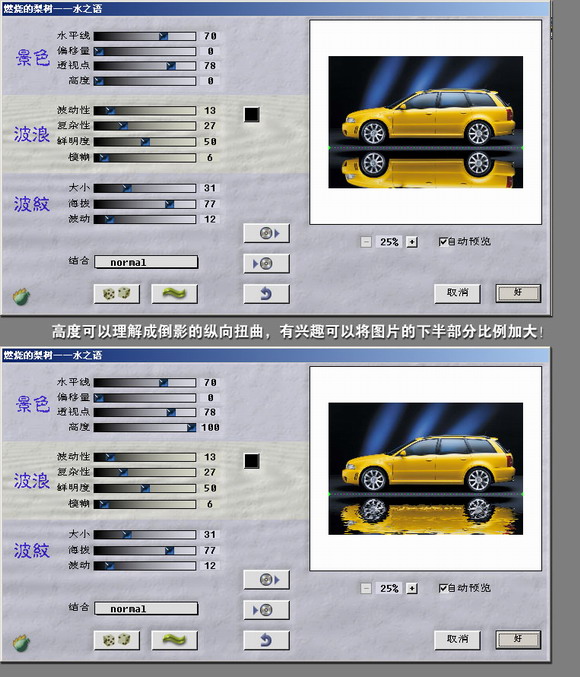
完成:

先看效果!下图是本文设计的最终效果:
首先打开一张要修改的图:
然后裁剪成如图所示:
燃烧的梨树
先来看景色
画上水平线:
增中偏移量:
设置透视点:
纵向扭曲倒影:
完成:
推荐继续学习,上一篇ps教程:飞机呕吐袋设计,你舍得吐吗? 下一篇ps教程:Photoshop CS新功能掠影
学习更多ps教程