教你用Photoshop打造美丽龙纹玉佩
要点:
先看一下最终效果:
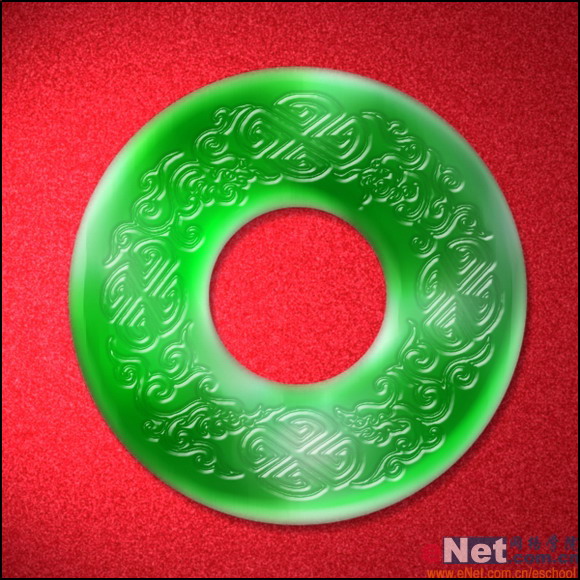
制作工具:Photoshop CS
制作过程:
1、新键宽度为5厘米,高度为5厘米,分辨率为300像素,颜色模式为RGB,背景为白色的文件。
2、设置前景色为深红色,按Alt+Delete键填充背景层为深红色。选择菜单栏中的“滤镜”“杂色”“添加杂色”命令,弹出添加杂色对话框,设置数量为11,勾选高斯分布和单色。选择菜单栏中的“滤镜”“模糊”“高斯模糊”命令,在弹出的高斯模糊对话框中,设置半径为0.5像素。选择菜单栏中的“滤镜”“渲染”“光照效果”命令,作为背景。新建图层1,选择椭圆选框工具,然后在图像中建立一个正圆的选区,并填充白色色,保留选区,效果如图01所示。
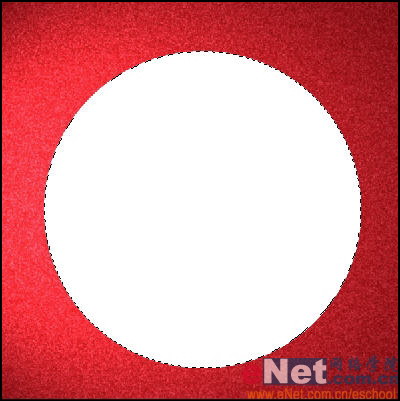
图01

图024、确认前景色和背景色为默认颜色。选择菜单栏中的“滤镜”“渲染”“云彩”命令,效果如图03所示。按Ctrl+M键,打开曲线对话框,把图像调亮一些,效果如图04所示。
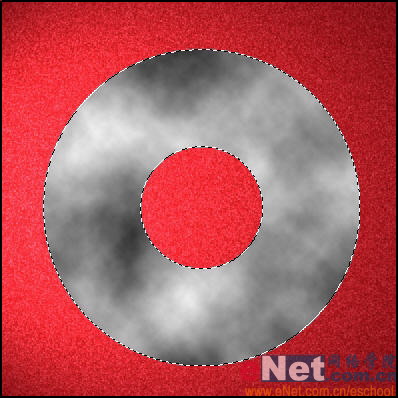
图03
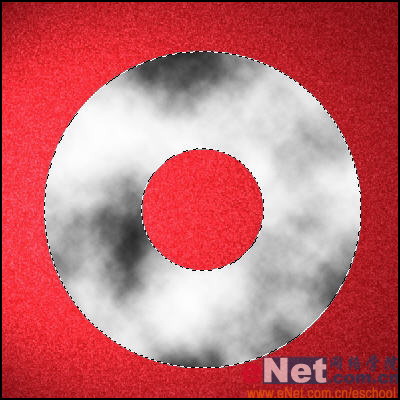
图04 5、选择菜单栏中的“滤镜”“素描”“半调图案”命令,在半调图案对话框中设置大小为1,对比度为10,效果如图05所示。
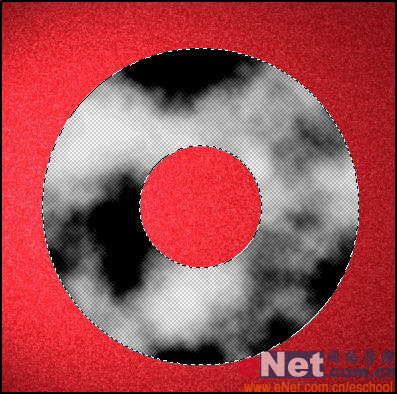
图05 6、选择菜单栏中的“滤镜”“纹理”“龟裂缝”命令,在龟裂缝对话框中设置艰巨为8,深度为10,亮度为10,效果如图06所示。
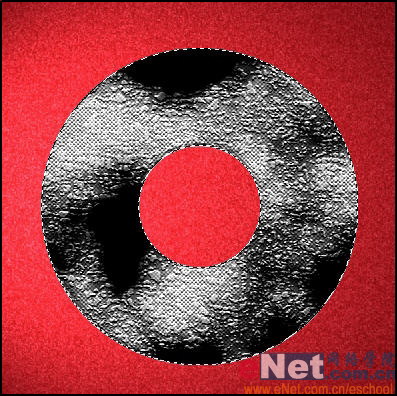
图06 7、选择菜单栏中的“滤镜”“模糊”“动感模糊”命令,在动感模糊对话框中设置角度为90,距离为20,效果如图07所示。
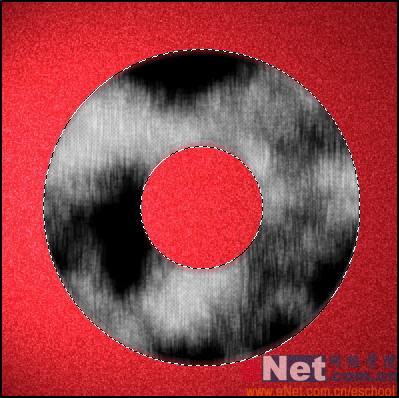
图07 8、选择菜单栏中的“图像”“调整”“色彩平衡”命令,设置参数如图08所示。效果如图09所示。
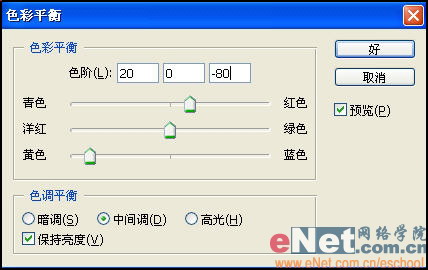
图08
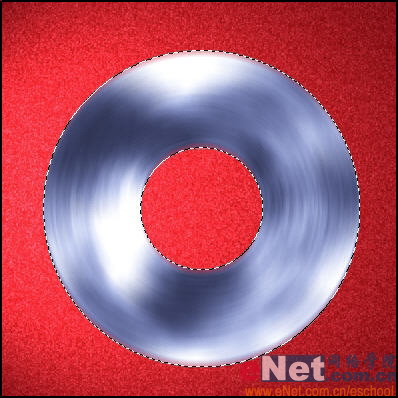
图099、选择菜单栏中的“滤镜”“模糊”“径向模糊”命令,在径向模糊对话框中设置数量为20,方法为旋转,品质最好,按Ctrl键,将图像反相处理。按Ctrl+B键,弹出色彩平衡对话框,参数设置如图10所示,再次调整参数设置如图11所示。
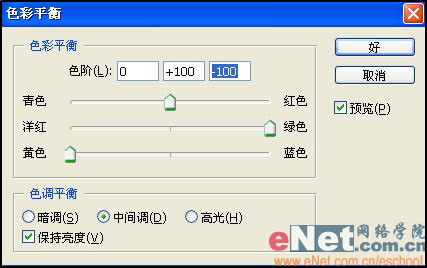
图10
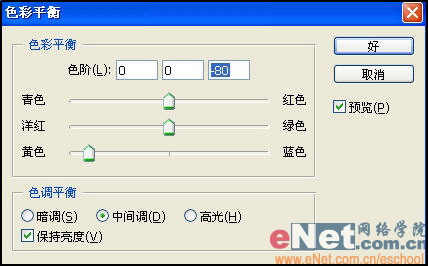
图11
10、新建图层2,载入图层1选区,并填充白色,取消选区。对图层2使用3次高斯模糊滤镜,模糊半径分别为15、10、5像素,完成后再次载入图层1的选区并反选,在图层2中删除选区内的图像,并更改混合模式为滤色,不透明度为30%,取消选区,效果如图12所示。
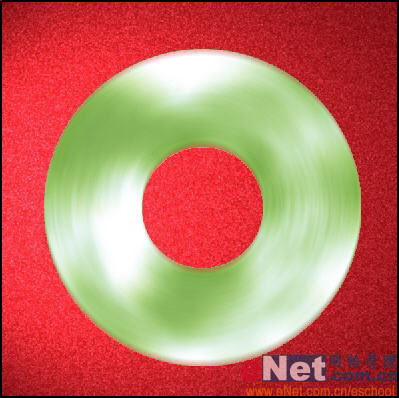
图12
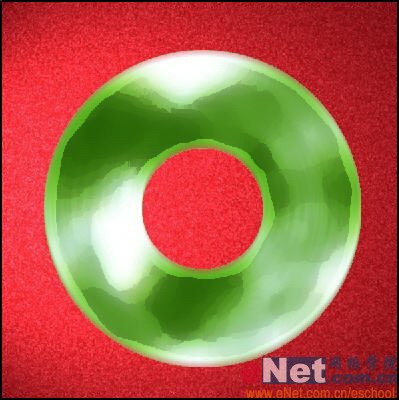
图13
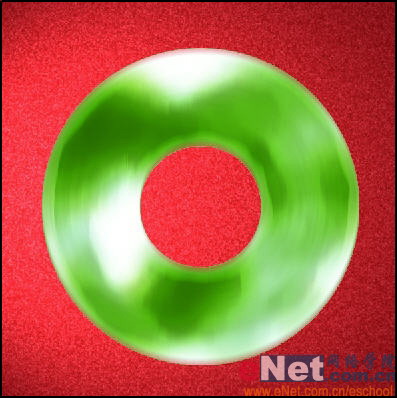
图14
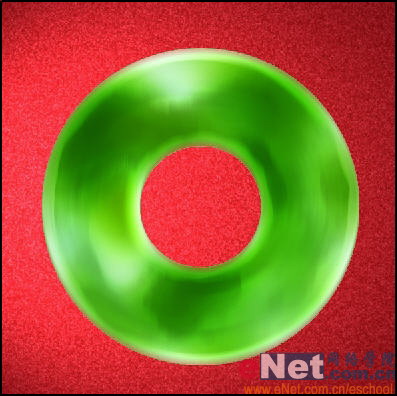
图15
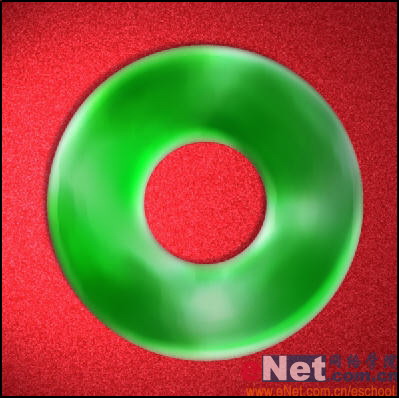
图16
图17
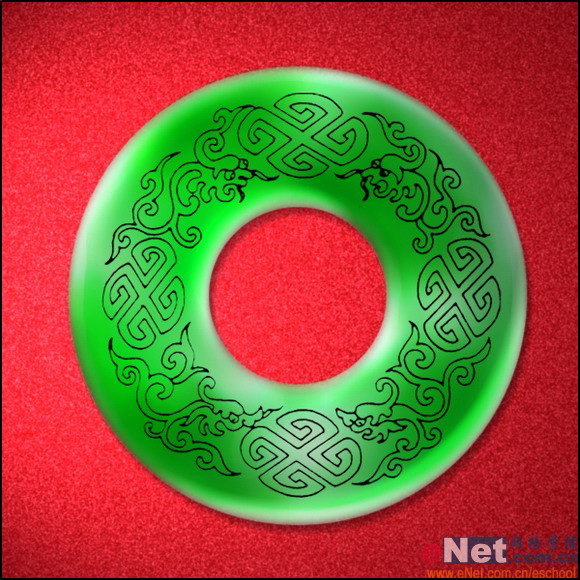
图18
图19
先看一下最终效果:
制作过程:
1、新键宽度为5厘米,高度为5厘米,分辨率为300像素,颜色模式为RGB,背景为白色的文件。
2、设置前景色为深红色,按Alt+Delete键填充背景层为深红色。选择菜单栏中的“滤镜”“杂色”“添加杂色”命令,弹出添加杂色对话框,设置数量为11,勾选高斯分布和单色。选择菜单栏中的“滤镜”“模糊”“高斯模糊”命令,在弹出的高斯模糊对话框中,设置半径为0.5像素。选择菜单栏中的“滤镜”“渲染”“光照效果”命令,作为背景。新建图层1,选择椭圆选框工具,然后在图像中建立一个正圆的选区,并填充白色色,保留选区,效果如图01所示。
图01
图02
图03
图04
图05
图06
图07
图08
图09
图10
图11
图12
图13
图14
图15
图16
图17
图18
图19
推荐继续学习,上一篇ps教程:儿时回忆:Photoshop打造变形金刚 下一篇ps教程:教你用Photoshop打造自己的CD封面
学习更多ps教程