简单,快速易学的图像边框样式
要点:简单,快速易学,图像边框样式


一、我们先用PS打开一张图片:
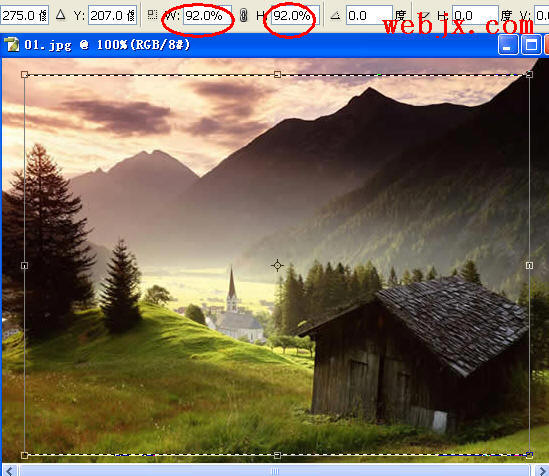
二、按Ctrl+A键选中整幅图片;单击菜单里面的“选择-变换选区”,选中以后,酱图片上面选项栏里面的W与H的数值由100%改为92%,然后点击右边的对勾确认。
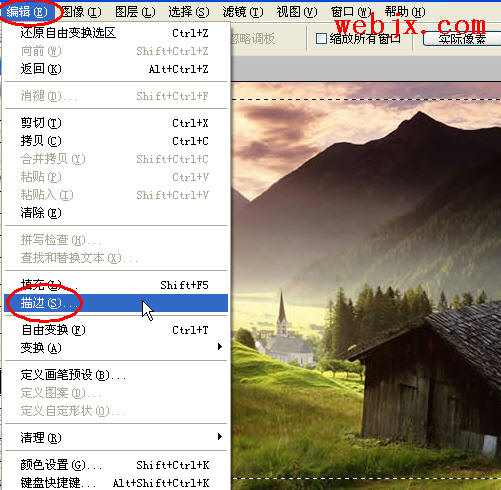
三、确认了以后呢,我们就可以使用菜单里面的”编辑-描边“来画出边框:
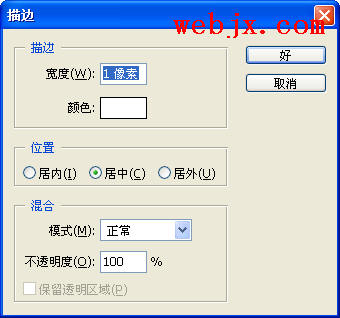
设置如下:
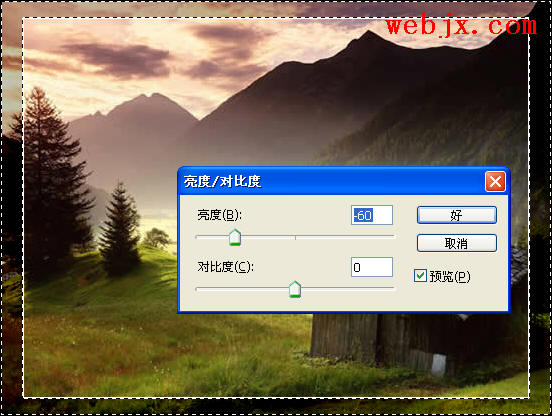
四、按Shift+Ctrl+I键来将选区反选,就是选中白线框外面的部分,最后把外面这一圈变深一点,执行“图像”->“调整”->“亮度/对比度”,然后按照下面的设置就可以了
最终效果:
推荐继续学习,上一篇ps教程:PS实例教程:教你制作结婚请柬 下一篇ps教程:PS抠不是纯背景的一种方法
学习更多ps教程