巧用Photoshop色阶功能打造水粉特效
要点:
巧用Photoshop的色阶功能,我们可以轻松打造出亮丽的水粉特效。
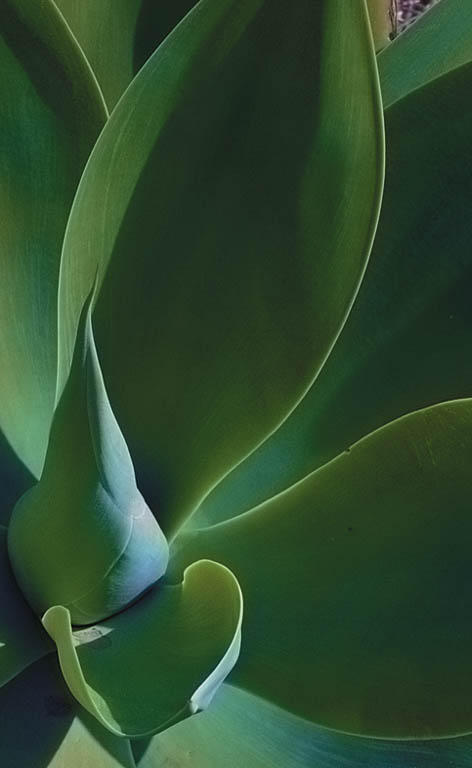
第一步,用Photoshop打开图像,将模式改成CMYK格式。
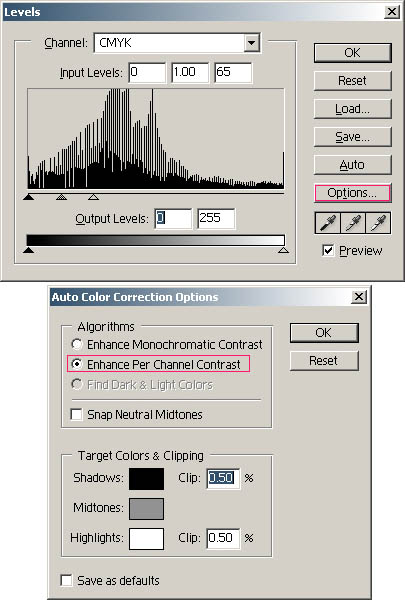
第二步,点菜单 image - > adjustments -> levels 出现如下图示窗口,设置相应参数。
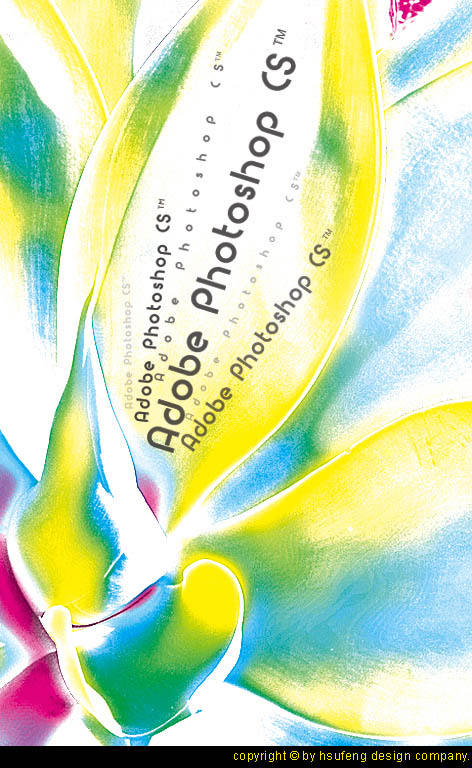
第三步,随意增加一些文字,调节一下透明度,表现出层次感。最后效果如下。
推荐继续学习,上一篇ps教程:经典 “反转负冲”人像处理一例 下一篇ps教程:飞扬的韵律—用Photoshop制作打散效果图
学习更多ps教程